

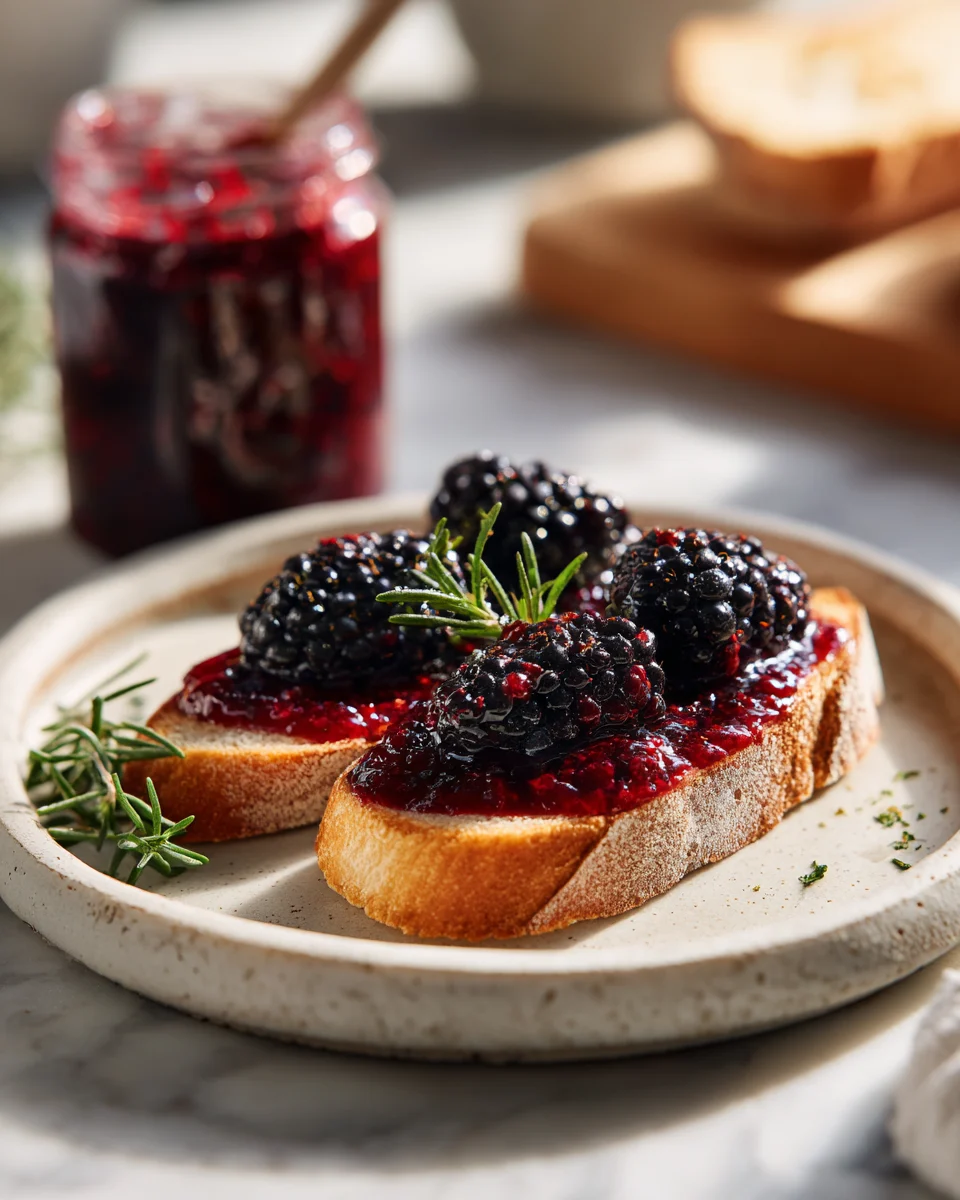
There’s something magical about making your own jam, especially when it’s a Homemade Blackberry Jam Recipe. The sweet aroma fills the kitchen, and the vibrant color of the blackberries brings a smile to my face. I remember when I first tried making jam with my mom during the summer months.
Those moments in the kitchen, especially making homemade jam, are some of my fondest memories. Now, as a mom myself, I cherish recreating those experiences with my little one. This recipe is simple, delicious, and a great way to preserve the flavor of summer all year long!
Why You’ll Love This Homemade Blackberry Jam Recipe, also known as blackberry preserves,
This Homemade Blackberry Jam Recipe is not just about flavor; it’s about creating memories. You’ll love how easy it is to make, and the taste is far superior to store-bought options. Plus, you can control the sweetness, making it perfect for your family’s taste buds, creating a delightful fruit spread.
I often think back to when my son first tasted homemade jam on his morning toast. His eyes lit up with joy! That’s the kind of happiness I want to create in my kitchen.
Easy to Customize
Everyone has different tastes. You can easily tweak this recipe by adding a splash of lemon juice for brightness or mixing in some vanilla for a unique twist. These small adjustments can turn a basic recipe into something special.
Perfect for Gifting
Homemade blackberry jam makes a thoughtful gift for friends and family. Just imagine their delight when they receive a jar of this vibrant, sweet goodness! You can even personalize the jars with cute labels for an extra touch.
Ingredients You’ll Need for This Homemade Blackberry Jam Recipe

- 4 cups fresh blackberries
- 2 cups granulated sugar (adjust to taste)
- 1/4 cup lemon juice (freshly squeezed is best)
- 1/2 teaspoon vanilla extract (optional)
- 1/4 teaspoon salt
Nutrition Facts
- Calories: 50 per tablespoon
- Protein: 0.1g
- Fat: 0g
- Carbohydrates: 13g
- Fiber: 0.5g
- Sugar: 12g
- Sodium: 1mg
Steps to Create Your Homemade Blackberry Jam Recipe
- Start by washing the blackberries thoroughly. Remove any stems or leaves.
- In a large pot, combine the blackberries, sugar, lemon juice, and salt. Let it sit for about 30 minutes to allow the blackberries to release their juices.
- After 30 minutes, place the pot over medium heat. Stir occasionally until the mixture comes to a boil.
- Once boiling, reduce the heat and let it simmer for about 15-20 minutes. You’ll want to stir frequently to prevent sticking. The jam should thicken and coat the back of a spoon.
- If using, add the vanilla extract and mix well. Remove from heat.
- Transfer the jam to sterilized jars, leaving about 1/4 inch of headspace. Seal the jars tightly.
- Allow the jars to cool at room temperature before refrigerating. Your jam can be stored in the fridge for up to three weeks.
Tips for Making the Best Homemade Blackberry Jam Recipe
To ensure your jam sets properly, use ripe blackberries. Under-ripe fruit can lead to a runny jam. I find that using a mix of fresh and slightly overripe blackberries gives the best flavor. Also, don’t skip the lemon juice; it helps with the setting process and balances the sweetness.
Test for Doneness
A good way to test if your jam is done is by doing the plate test. Place a small spoonful of jam on a chilled plate and let it sit for a minute. Run your finger through the jam; if it holds its shape, it’s ready!
Variations to Consider
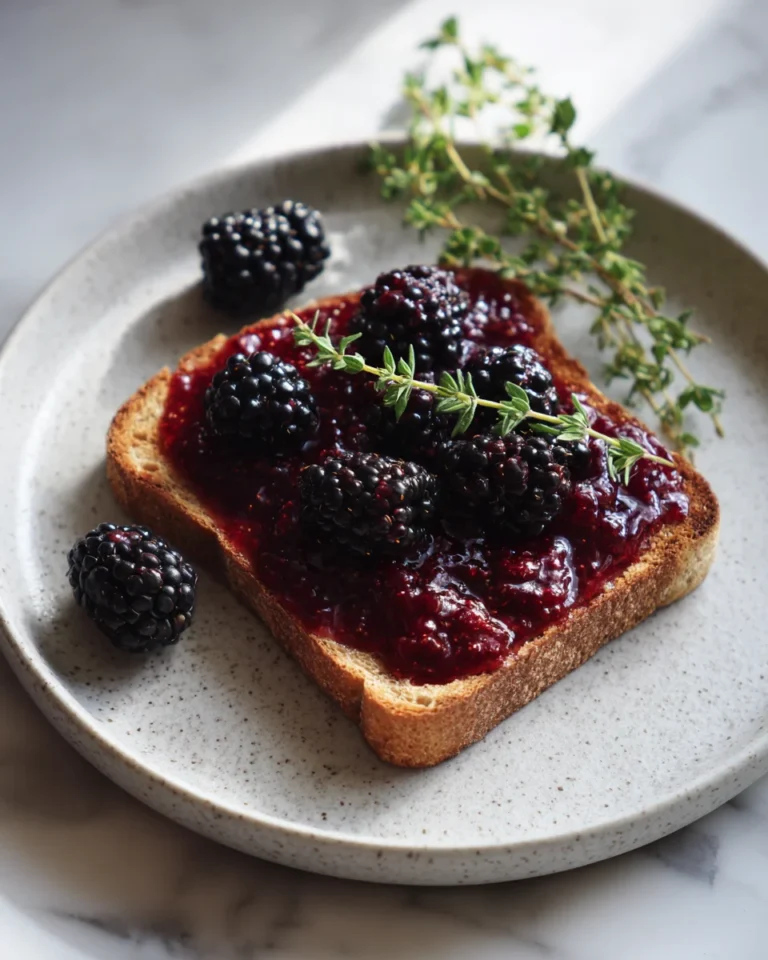
Feel free to blend berries in your blackberry recipes! Mixing blackberries with raspberries or strawberries can add fun new flavors. You can also try adding herbs like thyme or mint for a unique twist.
Serving Suggestions and Pairings
Homemade blackberry jam is perfect for spreading on toast, pancakes, or waffles. I love adding it to my morning yogurt or using it in desserts like cheesecake or ice cream. You could even stir it into oatmeal for a delicious breakfast treat.
Storage and Reheating Tips
Store your homemade blackberry jam in the refrigerator for up to three weeks. If you want to keep it longer, consider canning blackberry jam for shelf-stable storage. Just make sure to follow proper canning techniques to ensure safety.
Final Thoughts
Making your own jam can be a delightful experience. This Homemade Blackberry Jam Recipe is not only easy but also a way to preserve the summer’s bounty. So gather your blackberries, invite a friend or family member to join, and enjoy the process. You’ll create something delicious and memorable!
Frequently Asked Questions
What ingredients do I need for homemade blackberry jam?
You’ll need fresh blackberries, sugar, lemon juice, and a pinch of salt. Optional ingredients include vanilla extract for added flavor.
How do I make blackberry jam without pectin?
This recipe uses natural pectin found in the blackberries combined with sugar and lemon juice. The acidity of the lemon helps it set without additional pectin.
Can I use frozen blackberries for jam?
Yes, frozen blackberries work well for jam. Just let them thaw and drain excess liquid before using.
How long does homemade blackberry jam last?
Homemade blackberry jam can be stored in the refrigerator for up to three weeks. If canned properly, it can last for a year or more in a cool, dark place.
What is the best way to store homemade blackberry jam?
Keep your jam in sterilized jars and store it in the refrigerator. For long-term storage, consider canning your jam.
Homemade Blackberry Jam
A simple and delicious recipe for making blackberry jam at home, perfect for spreading on toast or using in desserts.
- Total Time: 50
Ingredients
- 4 cups fresh blackberries
- 2 cups granulated sugar
- 1/4 cup lemon juice
- 1/2 teaspoon vanilla extract (optional)
- 1/4 teaspoon salt
Instructions
- Start by washing the blackberries thoroughly. Remove any stems or leaves.
- In a large pot, combine the blackberries, sugar, lemon juice, and salt. Let it sit for about 30 minutes to allow the blackberries to release their juices.
- After 30 minutes, place the pot over medium heat. Stir occasionally until the mixture comes to a boil.
- Once boiling, reduce the heat and let it simmer for about 15-20 minutes. Stir frequently to prevent sticking.
- If using, add the vanilla extract and mix well. Remove from heat.
- Transfer the jam to sterilized jars, leaving about 1/4 inch of headspace. Seal the jars tightly.
- Allow the jars to cool at room temperature before refrigerating. Your jam can be stored in the fridge for up to three weeks.
- Prep Time: 30
- Cook Time: 20