
Introduction
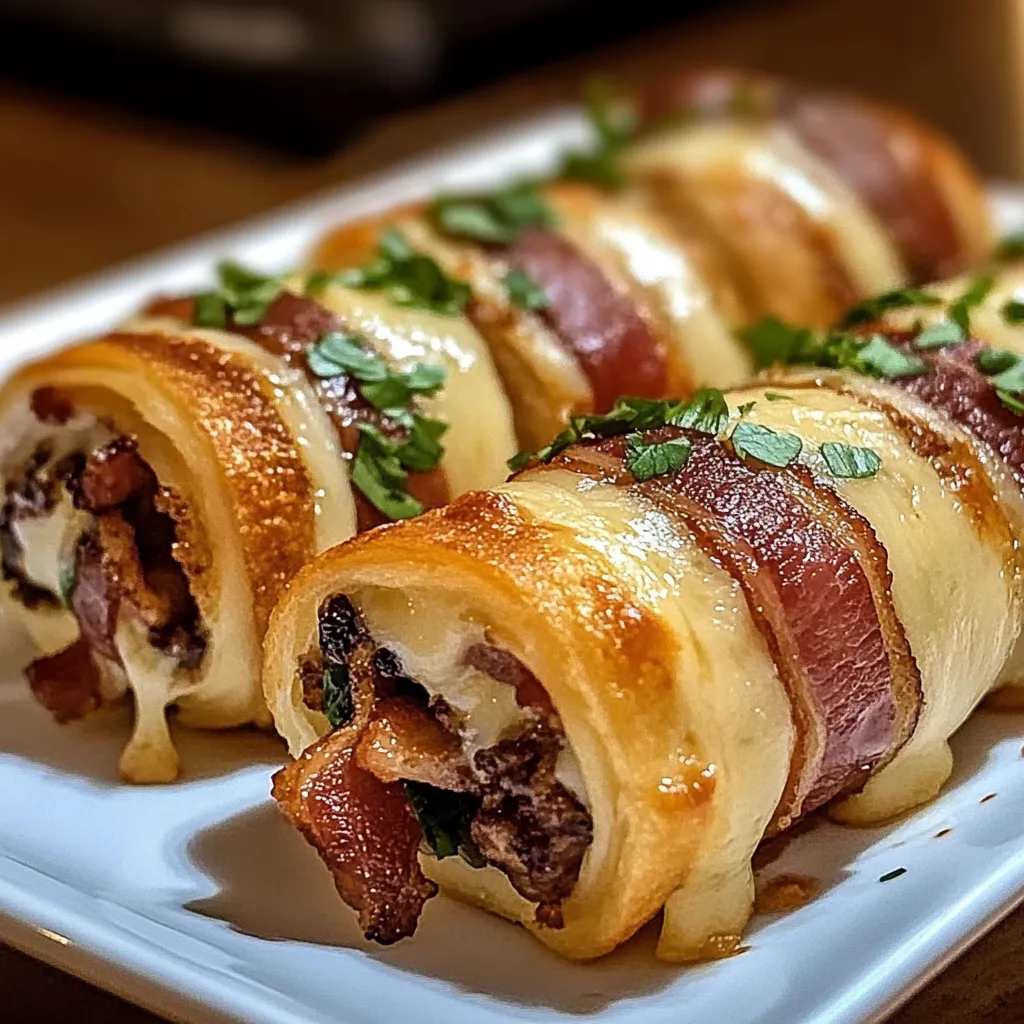
Welcome, food lovers! If you are looking for a delightful twist on comfort food, you have come to the right place. Today, we will dive into the world of Garlic Butter Bacon Cheeseburger Rollups. These rollups are not just a treat for your taste buds but also a feast for your senses. Imagine warm, buttery dough filled with savory bacon, melted cheese, and the unmistakable flavor of garlic. Sounds tempting, right?
These rollups are perfect for gatherings, game nights, or a simple family dinner. They combine the flavors we all love in a cheeseburger, wrapped in a delicious roll. So, let’s get started on making these scrumptious rollups that will have everyone asking for seconds!
Ingredients
Before we jump into the cooking, let’s gather our ingredients. Here’s what you will need:
- 1 pound ground beef
- 6 slices of bacon, chopped
- 1 cup shredded cheddar cheese
- 1 tablespoon garlic, minced
- 1 tablespoon butter
- 1 package of refrigerated crescent roll dough
- Salt and pepper, to taste
- Chopped parsley, for garnish (optional)
With these ingredients in hand, you are just a few steps away from delicious Garlic Butter Bacon Cheeseburger Rollups.
Timing
Timing is everything in the kitchen. Here is a quick breakdown of how long each step will take:
- Preparation Time: 15 minutes
- Cooking Time: 20 minutes
- Total Time: 35 minutes
With less than 40 minutes from start to finish, you will have a mouthwatering dish ready in no time!
Step-by-Step Instructions
Now that we have our ingredients and timing sorted, let’s get cooking! Follow these simple steps to create your Garlic Butter Bacon Cheeseburger Rollups.
Step 1: Cook the Bacon
First, heat a skillet over medium heat. Add the chopped bacon and cook until crispy. This will take about 5-7 minutes. Remember to stir occasionally. Once cooked, remove the bacon and drain it on paper towels. This helps to keep it crispy!
Step 2: Brown the Beef
In the same skillet, add the ground beef. Cook it over medium-high heat until browned, approximately 8 minutes. Make sure to break it apart as it cooks. Season it with salt, pepper, and minced garlic. Stir it well to combine all the flavors.
Step 3: Mix in the Bacon and Cheese
Once the beef is browned, mix in the cooked bacon and shredded cheddar cheese. Stir until the cheese is melted and everything is well combined. This mixture is already smelling heavenly!
Step 4: Prepare the Crescent Roll Dough
Now, preheat your oven to 375°F (190°C). Unroll the crescent roll dough onto a clean surface. You should see triangles; that’s perfect! Press the seams together to create a flat rectangle.
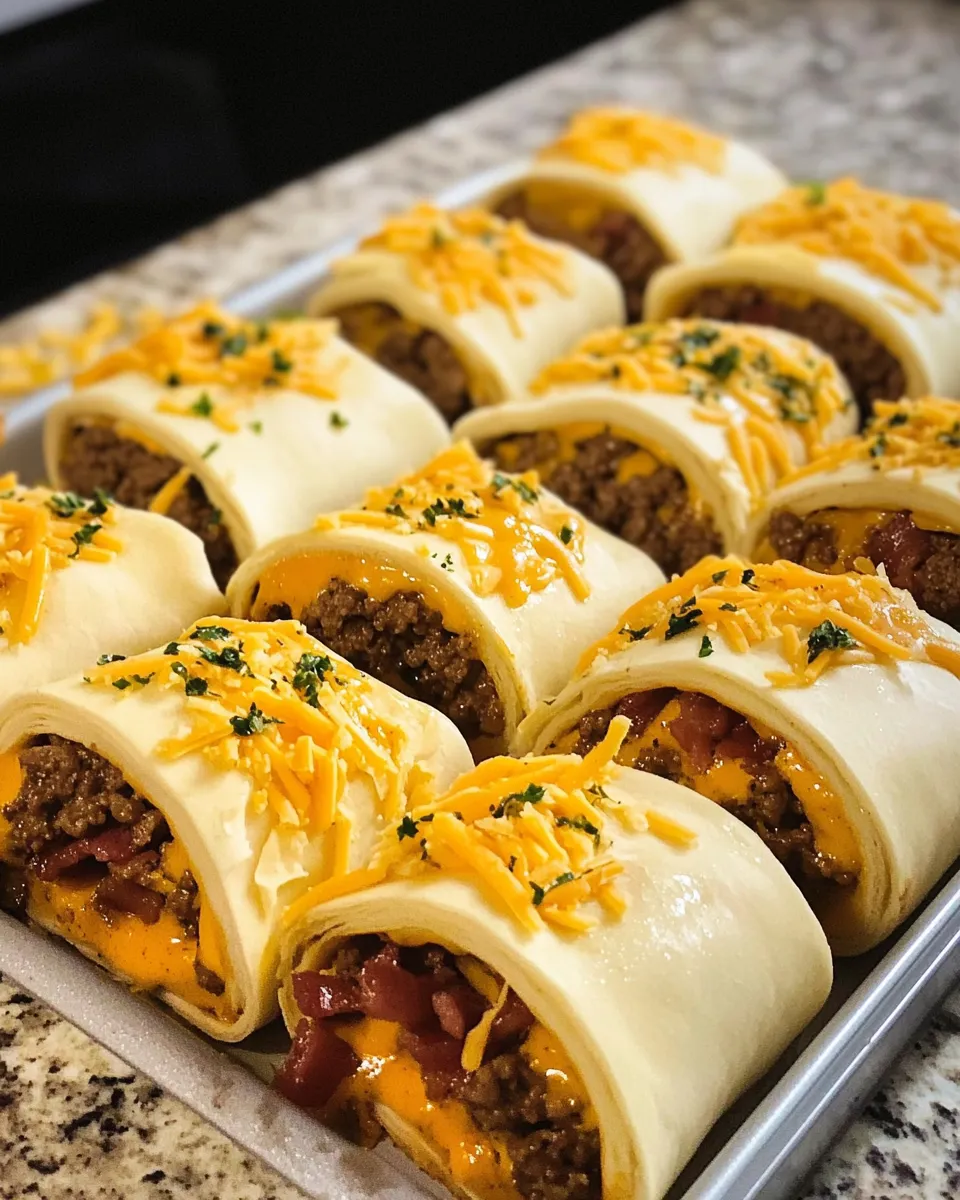
Step 5: Fill the Rollups
Place a generous amount of the beef mixture at the wide end of each triangle. Roll it up tightly, starting from that end. Make sure to tuck in the sides for a neat finish. This will ensure that the delicious filling stays inside!
Step 6: Bake the Rollups
Place the rollups seam-side down on a baking sheet lined with parchment paper. Melt the butter and brush it over the top of each rollup. This step adds that irresistible garlic flavor. Bake for 12-15 minutes or until golden brown.
Nutritional Information
Now, let’s talk about the nutritional value of these Garlic Butter Bacon Cheeseburger Rollups. Here’s a rough estimate per serving (based on 6 servings):
- Calories: 350
- Protein: 20g
- Carbohydrates: 20g
- Fat: 25g
- Sodium: 600mg
While they are indulgent, they are also filled with protein and flavor. Enjoy them in moderation!
Healthier Alternatives
If you are looking to lighten up this recipe, here are a few healthier alternatives:
- Use turkey bacon or lean ground turkey instead of regular bacon and beef.
- Opt for low-fat cheese or a dairy-free alternative.
- Try whole wheat crescent roll dough for added fiber.
These substitutions can help you enjoy the same great flavors with less guilt!
Serving Suggestions
When it comes to serving, think outside the box! Here are some fun ideas:
- Serve with a side of ranch or barbecue sauce for dipping.
- Pair with a fresh salad for a complete meal.
- Offer a variety of condiments like ketchup, mustard, and pickles.
These rollups can be a hit at parties, so don’t be afraid to get creative!
Common Mistakes to Avoid
Even the best cooks can make mistakes! Here are some pitfalls to watch out for:
- Don’t overfill the rollups, or they may burst open while baking.
- Ensure the crescent roll seams are pressed together to avoid leaks.
- Watch the baking time closely, as ovens vary. You want them golden, not burnt!
Learning from these mistakes will help you create perfect rollups every time!
Storage Tips
Have leftovers? No problem! Here’s how to store your Garlic Butter Bacon Cheeseburger Rollups:
- Cool them completely before storing.
- Place them in an airtight container in the fridge for up to 3 days.
- Reheat in the oven or microwave until warm.
They may not be as crispy after reheating, but they will still be delicious!
Conclusion
In conclusion, these Garlic Butter Bacon Cheeseburger Rollups are a delightful addition to any meal. They are easy to make, fun to eat, and absolutely packed with flavor. Whether for a family dinner or a festive gathering, these rollups will surely impress your guests. So go ahead, savor the flavor, and enjoy every bite!
Print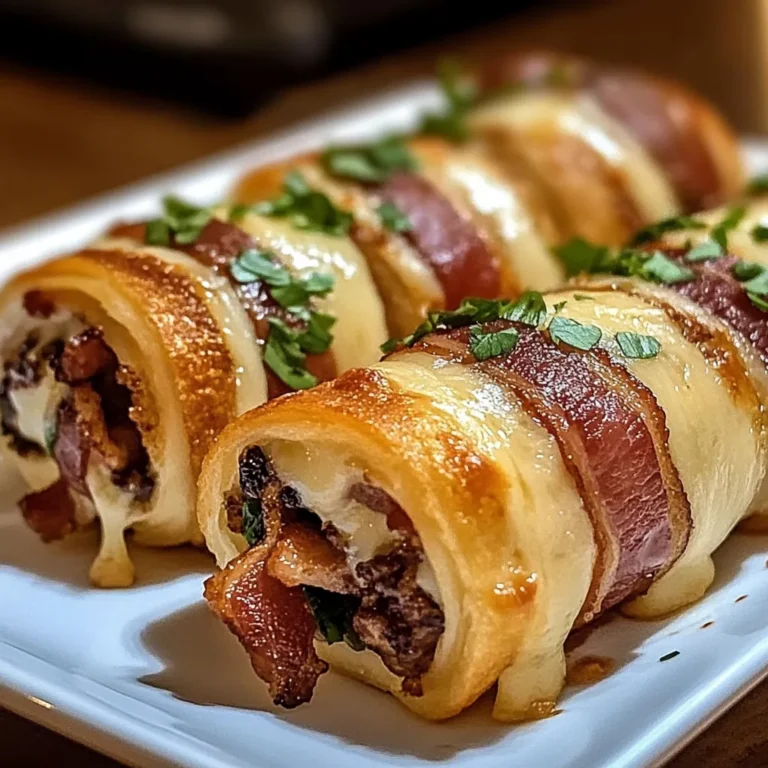
Savor the Flavor: Irresistible Garlic Butter Bacon Cheeseburger Rollups
Delicious Garlic Butter Bacon Cheeseburger Rollups, perfect for a quick meal.
- Total Time: 40 minutes
- Yield: 8 rollups
Ingredients
- 1 pound ground beef
- 6 slices of bacon, chopped
- 1 cup shredded cheddar cheese
- 1 tablespoon garlic, minced
- 1 tablespoon butter
- 1 package of refrigerated crescent roll dough
- Salt and pepper, to taste
- Chopped parsley, for garnish (optional)
Instructions
- Cook chopped bacon in a skillet over medium heat until crispy, about 5-7 minutes, then drain.
- In the same skillet, brown ground beef over medium-high heat for about 8 minutes, seasoning with salt, pepper, and garlic.
- Stir in cooked bacon and cheddar cheese until melted and combined.
- Preheat oven to 375°F (190°C) and unroll crescent roll dough, pressing seams to create a rectangle.
- Place beef mixture at the wide end of each triangle and roll tightly, tucking in sides.
- Place rollups seam-side down on a baking sheet, brush with melted butter, and bake for 12-15 minutes until golden brown.
Notes
- Serve warm with chopped parsley for garnish if desired.
- Adjust seasoning to taste based on preference.
- Prep Time: 15 minutes
- Cook Time: 25 minutes
- Category: Appetizer
- Method: Baking
- Cuisine: American
- Diet: Meat-based
FAQs
Can I freeze these rollups?
Yes! You can freeze them before or after baking. Just make sure to wrap them tightly to prevent freezer burn.
Can I use other meats?
Absolutely! Feel free to experiment with chicken, sausage, or even plant-based options.
How do I make them vegetarian?
Simply replace the meat with sautéed vegetables and add more cheese for a hearty filling.
Final Thoughts
Thank you for joining me in this culinary adventure! I hope you feel inspired to try making these Garlic Butter Bacon Cheeseburger Rollups at home. Remember, cooking should be fun, so don’t stress! Enjoy the process and share your delicious creations with friends and family. Happy cooking!