

There’s something magical about the aroma of freshly baked bread wafting through the house. It’s a scent that brings back memories of childhood, where my mother would pull a steaming loaf from the oven. As I embarked on my culinary journey, I always dreamed of recreating that magic. Today, I’m excited to share my Ultimate Garlic Herb Dutch Oven Bread recipe with you. This isn’t just any bread; it’s a flavor-packed, crusty masterpiece that will make your kitchen feel like a warm hug. Perfectly crispy on the outside and soft on the inside, it’s bound to become a favorite in your home.
Whether you’re a seasoned baker or just starting, this bread is approachable yet impressive. Picture this: a golden crust, a tantalizing blend of garlic and herbs, and the satisfaction of knowing you made it yourself. Baking bread in a Dutch oven creates an environment that mimics a professional steam oven, allowing for that perfect rise and crust. It’s a simple process that results in a stunning loaf, making it a fantastic addition to any meal. So, grab your apron and let’s get baking!
Why You’ll Love This Recipe
1. Easy to Follow Steps
This recipe is designed for everyone, regardless of your baking experience. With clear, simple instructions, you’ll feel confident every step of the way. Each phase is broken down, ensuring that you can follow along without any guesswork. Plus, I’ve included helpful tips to guide you, so you’re never left wondering what to do next.
2. Flavorful Garlic and Herb Infusion
The combination of garlic and fresh herbs takes this bread to a whole new level. Imagine the rich, savory flavor that fills your kitchen as it bakes. Each bite is bursting with the goodness of garlic, rosemary, and thyme. This isn’t just a side dish; it’s a statement. You can serve it with anything, and it always shines!
3. Perfect for Any Occasion
This Dutch oven bread is incredibly versatile. Whether you’re having a cozy family dinner, hosting friends, or even just indulging yourself, this recipe fits the bill. It pairs beautifully with soups, salads, or can be enjoyed on its own with a smear of butter. Trust me, it’s the kind of bread that brings people together.
4. Impress Your Guests
There’s nothing quite like serving homemade bread to guests. It’s a simple way to elevate your meal and show your culinary skills. With the Ultimate Garlic Herb Dutch Oven Bread, you’ll impress without the stress. Everyone will want to know your secret!
Ingredients
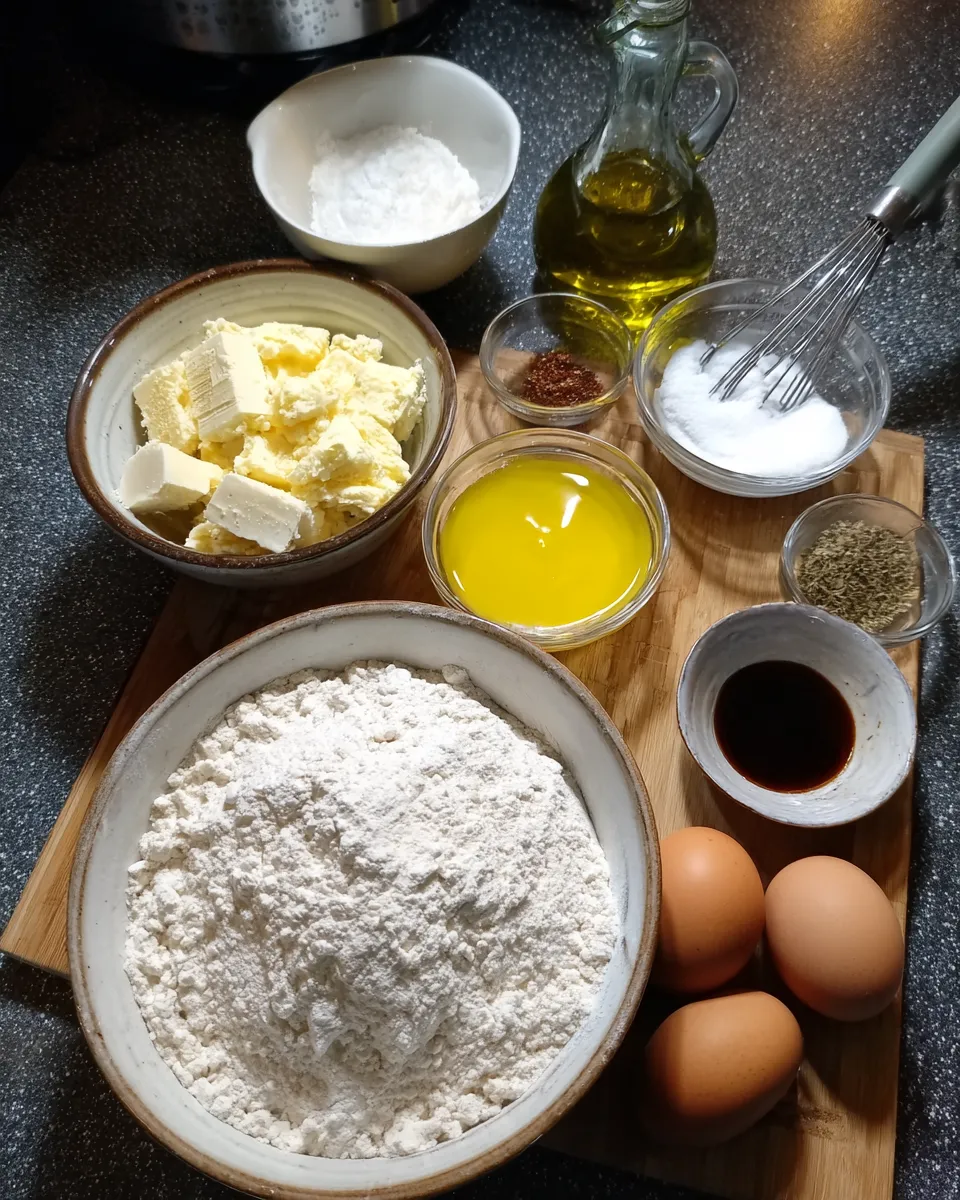
Before we dive into the baking process, let’s gather our ingredients. Having everything on hand will make the experience smooth and enjoyable.
Full List of Ingredients
- 3 cups all-purpose flour
- 1 ½ teaspoons salt
- 1 teaspoon sugar
- 1 packet (2 ¼ teaspoons) instant yeast
- 1 ¼ cups warm water (about 110°F)
- 3 tablespoons olive oil
- 4 cloves garlic, minced
- 2 tablespoons fresh rosemary, chopped
- 2 tablespoons fresh thyme, chopped
- Extra flour for dusting
Step-by-Step Instructions
Step 1: Prepare the Ingredients
Start by gathering all your ingredients and measuring them out. This ensures a smooth baking process. Add the flour, salt, sugar, and yeast into a large mixing bowl. Make sure the yeast is fresh; it’s crucial for a good rise. If you’re unsure, you can test it by mixing it with warm water and a pinch of sugar. If it bubbles after a few minutes, you’re good to go!
Step 2: Mix the Dry Ingredients
Using a whisk, combine the dry ingredients thoroughly. This step is vital as it helps distribute the salt and yeast evenly. You want to ensure that every bite of your bread is flavorful. The mixture should look light and fluffy, with no lumps remaining.
Step 3: Add the Wet Ingredients
Next, create a well in the center of your dry ingredients. Pour in the warm water and olive oil. Gently mix with a wooden spoon until a shaggy dough forms. The dough might seem sticky, and that’s perfectly okay! It’s what gives your bread that awesome chewy texture.
Step 4: Knead the Dough
Transfer the dough onto a floured surface. Knead it for about 8-10 minutes until it becomes smooth and elastic. You’ll know it’s ready when it springs back when pressed. If your hands get too sticky, sprinkle a little extra flour, but try not to overdo it. The dough should feel slightly tacky but not overly sticky.
Step 5: Let It Rise
Place the kneaded dough in a lightly greased bowl, covering it with a clean kitchen towel. Let it rise in a warm spot for about 1-2 hours, or until it doubles in size. This is where the magic happens! The yeast will work its wonders, creating air pockets that make your bread light and fluffy.
Step 6: Prepare the Garlic and Herbs
While your dough is rising, let’s prepare the garlic and herbs. In a small bowl, mix the minced garlic, chopped rosemary, and thyme. This combination will infuse the bread with incredible flavor. The moment you combine these ingredients, you’ll be greeted with an inviting aroma that hints at the deliciousness to come.
Step 7: Shape the Dough
Once the dough has risen, punch it down gently to release the air. Transfer it back to your floured surface. Flatten the dough slightly and sprinkle the garlic-herb mixture on top. Fold the dough over itself a few times, ensuring the flavors are evenly incorporated. Shape it into a round loaf, tucking the edges underneath to create a smooth top.
Step 8: Second Rise
Place the shaped dough onto a piece of parchment paper. Cover it again with a kitchen towel and let it rise for another 30 minutes. This helps develop the texture and flavor even more. Preheat your oven to 450°F during this time, and place your Dutch oven inside to heat up. This step is critical for achieving that beautiful crust.
Step 9: Bake the Bread
Once the dough has completed its second rise, carefully remove the hot Dutch oven from the oven. Using the parchment paper, lift the dough and place it inside. Cover it with the lid and bake for 30 minutes. This initial covered baking traps steam, creating that coveted crust.
Step 10: Finish Baking
After 30 minutes, remove the lid and continue baking for an additional 15-20 minutes. You’ll know it’s done when the bread is golden brown and sounds hollow when tapped on the bottom. The aroma will fill your kitchen, making it hard to wait for it to cool!
Step 11: Cool and Slice
Once baked, transfer the bread to a wire rack and let it cool for at least 15 minutes before slicing. This allows the steam to escape and helps maintain the bread’s texture. Resist the urge to slice it too soon; the wait is worth it! Enjoy the warm, fragrant slices with butter or your favorite spread.
What to Serve with This Recipe
Suggested Pairings
This Ultimate Garlic Herb Dutch Oven Bread is incredibly versatile. Here are some delicious pairings:
- Serve it alongside a hearty soup, like minestrone or tomato basil.
- Pair with a fresh garden salad drizzled with vinaigrette.
- Use it to make a tasty sandwich with your favorite fillings.
- Enjoy it with a charcuterie board, featuring cheeses and meats.
- Spread it with herb-infused butter for a delightful snack.
Variations and Substitutions
Cheesy Garlic Herb Bread
If you love cheese, feel free to add shredded mozzarella or cheddar to the garlic and herb mixture. This will give your bread a gooey, cheesy center that’s irresistible!
Gluten-Free Option
For a gluten-free version, substitute all-purpose flour with a 1:1 gluten-free baking mix. Just ensure that your yeast is gluten-free as well!
Different Herbs
Experiment with different herbs based on your preference. Basil, oregano, or even a hint of dill can provide a unique twist to the flavor profile of your bread.
Spicy Variation
If you enjoy a bit of heat, add some red pepper flakes to the garlic and herb mixture. It will give your bread a delightful kick!
Storage Instructions
Room Temperature Storage
This bread is best enjoyed fresh but can be stored at room temperature for up to 3 days. Keep it in a paper bag or wrapped in a kitchen towel to maintain its crust.
Freezing the Bread
If you want to save some for later, this bread freezes beautifully! Wrap it tightly in plastic wrap and then in aluminum foil. It can be stored in the freezer for up to 3 months. When you’re ready to enjoy it, simply thaw at room temperature and reheat in the oven.
Recipe Tips and Tricks
Here are some additional tips to ensure your bread turns out perfect every time:
- Always measure your flour accurately. Too much flour can lead to a dense loaf.
- Use a kitchen thermometer to check water temperature for yeast activation.
- Don’t rush the rising process. It’s essential for achieving that light and airy texture.
Related Recipes
If you enjoyed this bread, you might also love:
Print
Ultimate Garlic Herb Dutch Oven Bread: Mouthwatering Recipe for Bread Lovers
This homemade garlic and herb bread is soft, chewy, and bursting with flavor, perfect for any meal.
- Total Time: 2 hours 10 minutes
- Yield: 1 loaf 1x
Ingredients
- 3 cups all-purpose flour
- 1 ½ teaspoons salt
- 1 teaspoon sugar
- 1 packet (2 ¼ teaspoons) instant yeast
- 1 ¼ cups warm water (about 110°F)
- 3 tablespoons olive oil
- 4 cloves garlic, minced
- 2 tablespoons fresh rosemary, chopped
- 2 tablespoons fresh thyme, chopped
- Extra flour for dusting
Instructions
- Gather and measure all ingredients.
- Mix dry ingredients (flour, salt, sugar, yeast) in a bowl.
- Create a well, then add warm water and olive oil; mix until shaggy dough forms.
- Knead the dough on a floured surface for 8-10 minutes until smooth and elastic.
- Place the dough in a greased bowl, cover, and let it rise for 1-2 hours until doubled in size.
- Mix minced garlic, rosemary, and thyme in a bowl.
- Punch down the risen dough, flatten it, sprinkle with the garlic-herb mixture, fold, and shape into a loaf.
- Let the shaped dough rise for 30 minutes on parchment paper while preheating the oven to 450°F.
- Bake the bread covered in a Dutch oven for 30 minutes, then uncover and bake for an additional 15-20 minutes until golden brown.
- Cool on a wire rack for 15 minutes before slicing.
Notes
- Ensure yeast is fresh for best results.
- Let the bread cool before slicing for optimal texture.
- Prep Time: 20 minutes
- Cook Time: 50 minutes
- Category: Bread
- Method: Baking
- Cuisine: American
- Diet: Vegetarian
Nutrition
- Serving Size: 1 slice
- Calories: 150
- Sugar: 0.5g
- Sodium: 200mg
- Fat: 4g
- Saturated Fat: 0.5g
- Unsaturated Fat: 3.5g
- Trans Fat: 0g
- Carbohydrates: 28g
- Fiber: 1g
- Protein: 4g
- Cholesterol: 0mg
FAQs
Can I use active dry yeast instead of instant yeast?
Yes! Just make sure to activate it in warm water with sugar for about 5-10 minutes before adding it to the dry ingredients.
Why is my bread dense?
A dense loaf can result from too much flour or not allowing enough time for the dough to rise. Make sure to measure accurately and be patient!
How do I know when my bread is done baking?
Tap the bottom of the loaf; it should sound hollow. You can also use a thermometer to check that the internal temperature is around 190°F.
Can I add other ingredients to the bread?
Absolutely! Feel free to add nuts, seeds, or dried fruit for a unique flavor and texture.
What if I don’t have a Dutch oven?
If you don’t have a Dutch oven, you can use a baking stone or a heavy oven-safe pot with a lid. Just ensure it can withstand high temperatures.
How can I make this bread ahead of time?
You can prepare the dough and refrigerate it overnight. Just let it come to room temperature before baking.
Conclusion
There you have it! The Ultimate Garlic Herb Dutch Oven Bread is a simple yet impressive recipe that will surely become a staple in your kitchen. It embodies the warmth and love that cooking brings, making it perfect for any occasion. I hope this recipe inspires you to bake and create wonderful memories just like I do with my family. Happy baking, and remember, the best part of this journey is sharing your delicious creations with those you love!