

There’s something magical about desserts that require no baking, especially when they involve everyone’s favorite cookie—Oreos! Imagine a rich, creamy layer of lusciousness, sandwiched between crunchy chocolate cookies. That’s exactly what you’ll get with this fabulous No-Bake Oreo Icebox Cake. As a mom who loves to whip up easy yet delightful treats with my son, this recipe not only brings smiles but also creates cherished family moments. It’s the perfect way to indulge without the heat of the oven, making it ideal for hot summer days or when you simply crave something sweet and effortless.
Every bite of this cake is a delightful experience. The combination of the crunchy, chocolatey layers and the fluffy, sweet cream is just heavenly. Plus, it’s a fantastic way to get your little ones involved in the kitchen! My son loves helping me crush the Oreos and layer them up, turning our cooking sessions into fun adventures. Trust me, the smile on his face when we serve this cake is priceless. So, grab your ingredients and let’s get started on this simple yet indulgent No-Bake Oreo Icebox Cake!
Why You’ll Love This Recipe
Quick and Easy to Make
This No-Bake Oreo Icebox Cake requires minimal effort, making it perfect for novice bakers or those who want to whip up something delicious in no time. You won’t need to preheat the oven or deal with complicated baking instructions. Just layer, chill, and enjoy!
Creamy and Decadent Flavor
The creamy filling, made with whipped cream and cream cheese, pairs beautifully with the rich chocolate of the Oreos. Each slice offers a delightful contrast of textures that will have everyone going back for seconds!
Perfect for Any Occasion
Whether you’re celebrating a birthday, hosting a family gathering, or simply treating yourself, this cake fits right in. It’s versatile enough to be served at picnics, potlucks, and holiday gatherings, making it a go-to dessert for all occasions.
Kid-Friendly Fun
Involving your kids in the kitchen can be a joy, and this recipe is a fantastic way to do just that. They’ll love crushing the Oreos and layering the cake. Plus, it’s a great opportunity to teach them about measuring and mixing without the stress of baking.
Ingredients
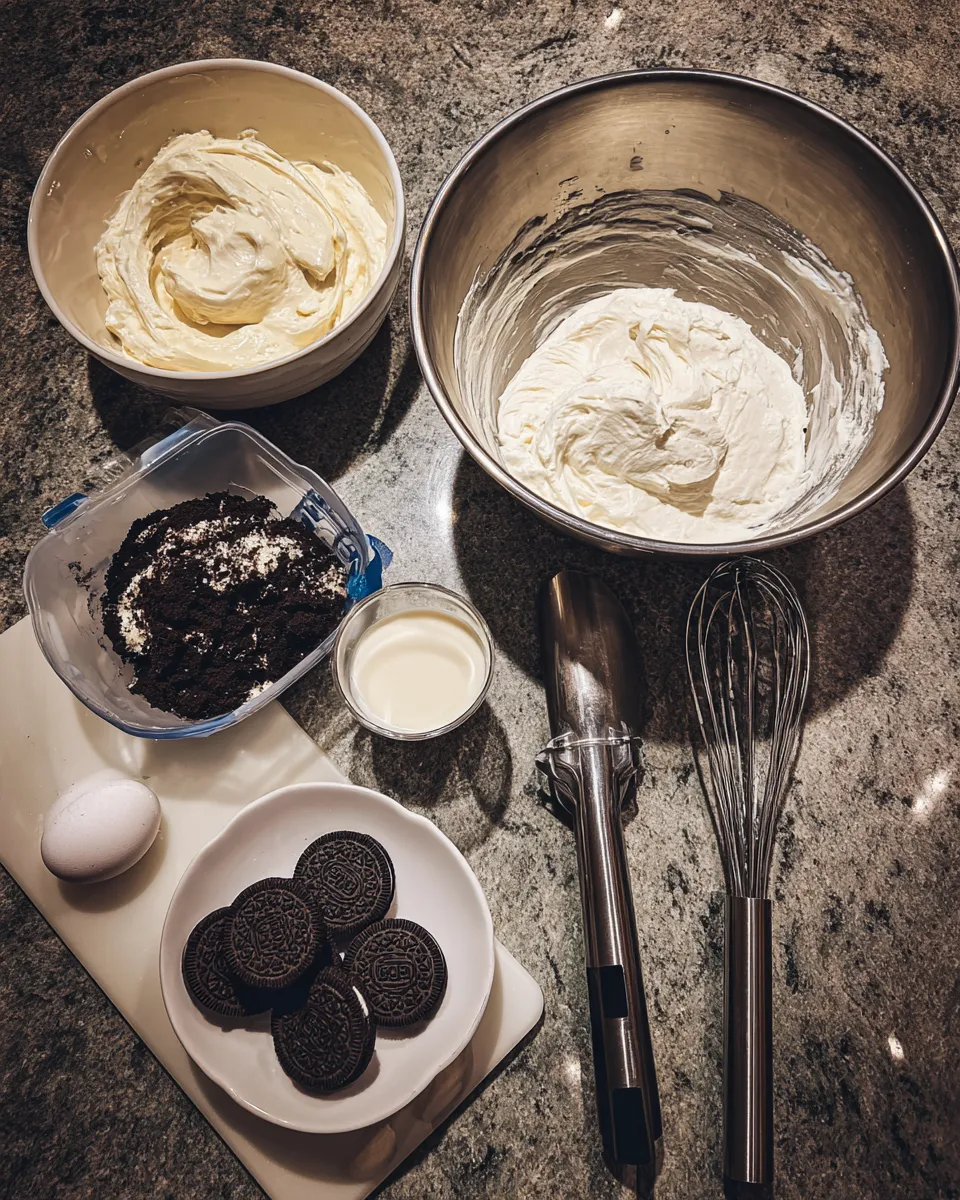
Gather these simple ingredients to create your No-Bake Oreo Icebox Cake.
Full List of Ingredients
- 2 packages (15.25 oz each) of Oreo cookies
- 1 package (8 oz) of cream cheese, softened
- 1 cup of powdered sugar
- 2 cups of heavy whipping cream
- 1 teaspoon of vanilla extract
- Optional: Additional crushed Oreos for garnish
Step-by-Step Instructions
Step 1: Prepare the Ingredients
Start by gathering all your ingredients on the kitchen counter. This will make your cooking process smoother. Take the cream cheese out of the refrigerator to let it soften. Softened cream cheese is crucial for a smooth filling, so don’t skip this step!
Step 2: Crush the Oreos
Take one package of Oreo cookies and put them into a resealable plastic bag. Seal the bag tightly, then use a rolling pin or your hands to crush the cookies into fine crumbs. You want a texture similar to sand. This base will give your cake a delightful crunch!
Step 3: Make the Cream Cheese Mixture
In a large mixing bowl, combine the softened cream cheese and powdered sugar. Using an electric mixer, beat them together on medium speed until the mixture is smooth and creamy, about 2-3 minutes. This step is essential because it ensures that the cream cheese is fully incorporated and there are no lumps in your filling.
Step 4: Whip the Cream
In another bowl, pour in the heavy whipping cream and add the vanilla extract. Using a clean electric mixer, whip the cream on high speed until stiff peaks form. This usually takes about 3-5 minutes. The whipped cream adds lightness to the filling, making it fluffy and delicious.
Step 5: Combine the Mixtures
Gently fold the whipped cream into the cream cheese mixture. Be careful not to deflate the whipped cream; you want to keep it airy for that perfect texture in your cake. Use a spatula to fold it in until just combined, creating a dreamy filling.
Step 6: Layer the Cake
Now it’s time to assemble! In a 9×13-inch baking dish, start with a layer of crushed Oreos at the bottom. Then, spread a layer of the cream cheese mixture over the Oreos. Repeat this process, alternating layers of Oreos and the cream filling, until you reach the top of the dish. Aim for about three layers, finishing with the cream filling on top.
Step 7: Chill the Cake
Cover the dish with plastic wrap and refrigerate the cake for at least 4 hours, but overnight is even better! Chilling allows the flavors to meld beautifully and the cake to set, making it easier to slice. The anticipation will be worth it!
Step 8: Serve and Enjoy
Once chilled, slice the cake into squares and serve cold. For an extra touch, sprinkle some crushed Oreos on top for garnish. The first bite will be creamy, chocolatey, and utterly delightful!
What to Serve with This Recipe
Suggested Pairings
This No-Bake Oreo Icebox Cake pairs wonderfully with a variety of beverages. Here are a few suggestions:
- A cold glass of milk
- Freshly brewed coffee
- Vanilla ice cream for extra indulgence
- Fruit salad for a refreshing contrast
Variations and Substitutions
Use Different Cookies
If you want to mix things up, try using different types of cookies. Golden Oreos or even chocolate mint Oreos can add a fun twist to this classic recipe.
Add Fruit Layers
For a refreshing addition, consider adding layers of sliced strawberries or bananas between the Oreo layers. This adds a burst of flavor and a pop of color!
Make it Gluten-Free
To make a gluten-free version, swap out regular Oreos for gluten-free cookies. It’s just as delicious and suitable for everyone!
Incorporate Peanut Butter
If you’re a peanut butter lover, mix in some creamy peanut butter with the cream cheese mixture. This adds a delightful nutty flavor that complements the chocolate beautifully.
Storage Instructions
Refrigerator Storage
Store any leftovers in the refrigerator, covered tightly with plastic wrap or in an airtight container. It should last for about 3-4 days, but trust me, it will likely be gone before then!
Freezing Instructions
If you want to make this cake ahead of time, you can freeze it! Wrap the cake tightly in plastic wrap and then in foil. It can be frozen for up to 2 months. Thaw it in the refrigerator overnight before serving.
Recipe Tips and Tricks
Related Recipes
If you enjoyed this No-Bake Oreo Icebox Cake, you might also love these other delightful recipes:
- No-Bake Cheesecake
- Chocolate Lasagna
- Peanut Butter Pie
- Banana Pudding Parfait

Indulgent No-Bake Oreo Icebox Cake: A Decadent Delight
This No-Bake Oreo Icebox Cake is a creamy and delightful dessert made with layers of Oreo cookies and a light cream cheese filling.
- Total Time: 4 hours 30 minutes
- Yield: 12 servings 1x
Ingredients
- 2 packages (15.25 oz each) of Oreo cookies
- 1 package (8 oz) of cream cheese, softened
- 1 cup of powdered sugar
- 2 cups of heavy whipping cream
- 1 teaspoon of vanilla extract
- Optional: Additional crushed Oreos for garnish
Instructions
- Gather and soften the cream cheese.
- Crush one package of Oreo cookies into fine crumbs.
- Mix softened cream cheese and powdered sugar until smooth.
- Whip heavy cream and vanilla until stiff peaks form.
- Fold whipped cream into the cream cheese mixture gently.
- Layer crushed Oreos and cream mixture in a baking dish, finishing with cream on top.
- Chill the cake for at least 4 hours or overnight.
- Slice and serve cold, garnished with crushed Oreos if desired.
Notes
- Chilling overnight enhances flavor and texture.
- Use a spatula to fold the mixtures gently to maintain fluffiness.
- Prep Time: 30 minutes
- Cook Time: 0 minutes
- Category: Dessert
- Method: No-Bake
- Cuisine: American
- Diet: Vegetarian
Nutrition
- Serving Size: 1 slice
- Calories: 320
- Sugar: 20g
- Sodium: 180mg
- Fat: 22g
- Saturated Fat: 12g
- Unsaturated Fat: 8g
- Trans Fat: 0g
- Carbohydrates: 28g
- Fiber: 1g
- Protein: 4g
- Cholesterol: 60mg
FAQs
Can I use low-fat cream cheese?
Yes, you can use low-fat cream cheese, but the texture may be slightly different. The cake will still be delicious!
How long does the No-Bake Oreo Icebox Cake need to chill?
For the best results, chill the cake for at least 4 hours, but overnight is ideal to allow the flavors to meld.
Can I make this cake in advance?
Absolutely! This cake is perfect for making ahead of time. It can be stored in the fridge for up to 3-4 days.
What if I don’t have heavy whipping cream?
If you don’t have heavy whipping cream, you can use whipped topping instead. However, homemade whipped cream gives the best flavor and texture.
Can I add toppings to the cake?
Definitely! You can top it with chocolate syrup, whipped cream, or even additional crushed Oreos for extra flair.
Conclusion
This No-Bake Oreo Icebox Cake is not just a dessert; it’s an experience filled with laughter, love, and deliciousness. With its easy preparation and delightful flavors, it has become a staple in our home. I hope you enjoy making it as much as I do, and that it brings joy to your family gatherings and celebrations. Happy baking, and may your kitchen be filled with sweet memories!