

There’s something magical about the combination of chocolate and peanut butter, isn’t there? As a mom and passionate food lover, I often find myself reminiscing about childhood treats that made my taste buds dance with joy. One such treat is the No-Bake Chocolate Peanut Butter Bars. These bars are not only indulgent but also incredibly simple to whip up—perfect for those busy days when you want to create something special without heating up the oven. Plus, involving my 6-year-old son in the process makes it even more special. We laugh, we mix, and we create memories, all while crafting these sinfully delicious bars.
Picture this: a creamy layer of peanut butter, perfectly balanced with a rich chocolate topping, all sitting atop a crunchy base. The texture is a delightful contrast, and the flavors? They’re a match made in dessert heaven! Whether you’re preparing for a family gathering, a holiday celebration, or simply craving something sweet, these No-Bake Chocolate Peanut Butter Bars will satisfy your sweet tooth and impress your guests. Let’s dive into why you’ll love this recipe!
Why You’ll Love This Recipe
1. Quick and Easy Preparation
One of the best things about these No-Bake Chocolate Peanut Butter Bars is how quickly they come together. You don’t have to worry about preheating the oven or baking time; this recipe allows you to create a scrumptious treat in just about 20 minutes. It’s perfect for those last-minute dessert needs or when you’re in the mood for something sweet but don’t have a lot of time to spare. Just mix, layer, chill, and voila!
2. No Special Equipment Needed
Another appealing feature is that you won’t need any fancy kitchen gadgets or equipment. A simple mixing bowl, a spatula, and a baking dish are all you need. This accessibility makes it easy for anyone—whether you’re a seasoned chef or a novice in the kitchen—to create these delightful bars. Plus, there’s minimal cleanup, leaving you more time to enjoy your creation.
3. Customizable Ingredients
This recipe is incredibly versatile. You can easily swap ingredients based on your preferences or dietary needs. For example, use almond butter instead of peanut butter for a nut-free option, or substitute honey for maple syrup to cater to different taste profiles. This flexibility ensures that everyone can enjoy these bars, regardless of their dietary restrictions.
4. Perfect for Any Occasion
Whether you’re celebrating a birthday, hosting a holiday get-together, or just treating yourself after a long day, these No-Bake Chocolate Peanut Butter Bars are the perfect dessert. They can be dressed up with sprinkles for a festive touch or served plain for a casual snack. No matter the occasion, these bars will be a crowd-pleaser!
Ingredients
Before we dive into the step-by-step instructions, let’s gather the ingredients you’ll need to create these scrumptious bars. With just a few simple items, you’ll be on your way to dessert bliss!
Full List of Ingredients
- 1 cup graham cracker crumbs
- 1/2 cup unsweetened cocoa powder
- 1/2 cup powdered sugar
- 1/2 cup unsalted butter, melted
- 1 cup creamy peanut butter
- 1 cup semi-sweet chocolate chips
- 1/4 cup heavy cream
Step-by-Step Instructions
Step 1: Prepare the Base
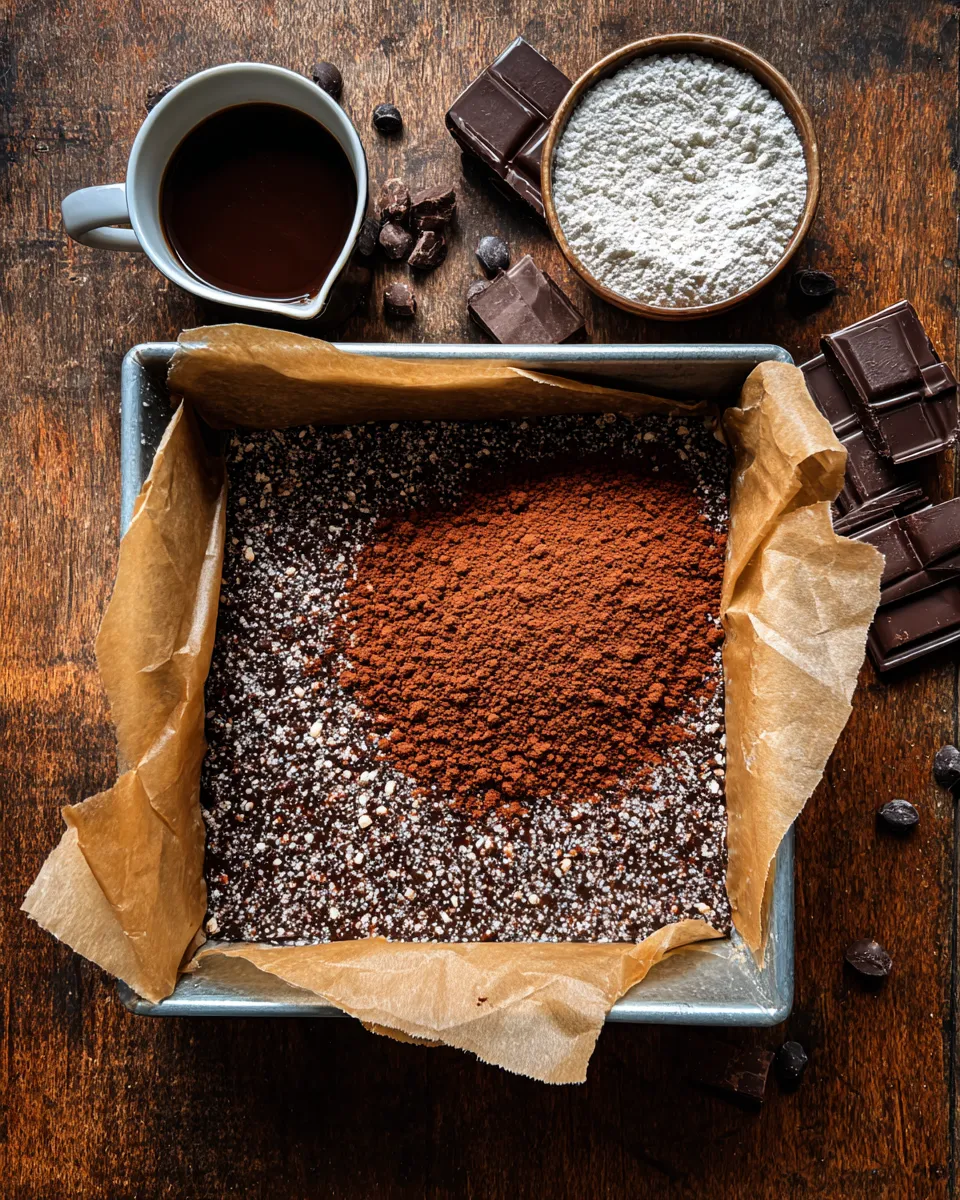
Start by preparing your base mixture. In a large mixing bowl, combine 1 cup of graham cracker crumbs, 1/2 cup of unsweetened cocoa powder, and 1/2 cup of powdered sugar. Whisk these dry ingredients together until they’re evenly blended. The cocoa powder should be free of lumps, and the mixture should have a lovely chocolate aroma. Once mixed, pour in 1/2 cup of melted unsalted butter. Mix thoroughly until the crumbs are well-coated and the texture resembles wet sand. This base will provide a crunchy foundation for the bars.
Step 2: Press the Base into the Pan
Now it’s time to form the base into the pan. Line an 8×8-inch square baking pan with parchment paper, allowing some overhang for easy removal later. Transfer the crumb mixture into the pan and use the back of a measuring cup or your hands to press it down firmly. Make sure it’s evenly packed to create a solid layer. This step is crucial as it ensures your bars hold together once set. Place the pan in the refrigerator while you prepare the peanut butter layer.
Step 3: Make the Peanut Butter Layer
In a separate bowl, add 1 cup of creamy peanut butter. If you prefer a sweeter taste, feel free to mix in a tablespoon of honey or maple syrup. Microwave the peanut butter for about 20 seconds to make it easier to spread. Once warmed, stir it until smooth. Pour the peanut butter layer over the chilled graham cracker base. Using a spatula, spread it evenly, making sure it reaches all corners. The creamy peanut butter should contrast beautifully with the chocolate base beneath it.
Step 4: Prepare the Chocolate Topping
For the final layer, you’ll melt 1 cup of semi-sweet chocolate chips. Place the chocolate chips and 1/4 cup of heavy cream in a microwave-safe bowl. Heat in the microwave for about 30 seconds, then stir. Continue heating in 15-second intervals until the chocolate is completely melted and smooth. This mixture will create a luscious topping that ties the whole dessert together. Pour the melted chocolate over the peanut butter layer, and use your spatula to spread it evenly.
Step 5: Chill the Bars
Once all layers are assembled, cover the pan with plastic wrap or foil and place it in the refrigerator. Allow the bars to chill for at least 2 hours, or until set. This step is vital as it helps the layers meld together and firm up, making them easier to cut. While you wait, indulge in some well-deserved relaxation, or perhaps a cup of coffee!
Step 6: Slice and Serve
After the bars have set, it’s time to slice them into squares. Use the overhang from the parchment paper to lift the bars out of the pan. Place them on a cutting board and use a sharp knife to cut them into equal squares. You can make them as large or small as you prefer, but keep in mind that these bars are quite rich! Serve them on a platter, and watch as your friends and family eagerly devour them.
What to Serve with This Recipe
Suggested Pairings
These No-Bake Chocolate Peanut Butter Bars are delightful on their own, but they can also be paired with a variety of treats or beverages for a complete experience. Consider serving them alongside:
- A tall glass of cold milk for a classic combination.
- A scoop of vanilla ice cream for a decadent dessert.
- Fresh fruit like raspberries or strawberries for a refreshing contrast.
- Espresso or coffee to balance the sweetness.
Variations and Substitutions
1. Nut-Free Option
If you or someone you’re serving has nut allergies, you can easily substitute the peanut butter with sun butter or soy nut butter. This keeps the flavor profile delicious while ensuring it’s safe for everyone.
2. Gluten-Free Version
For a gluten-free version, replace the graham cracker crumbs with gluten-free graham crackers or crushed gluten-free cookies. This allows everyone to enjoy these bars without worry!
3. Vegan Adaptation
To make these bars vegan, swap the butter for coconut oil, choose a plant-based chocolate, and use agave syrup instead of honey. You won’t compromise on flavor, and they’ll be suitable for a wider audience!
4. Add-Ins
Feel free to elevate the bars by adding mix-ins like crushed pretzels, mini marshmallows, or even shredded coconut into the peanut butter layer. This adds texture and makes the bars even more exciting!
Storage Instructions
Refrigerator Storage
These bars can be stored in an airtight container in the refrigerator for up to one week. Be sure to separate layers with parchment paper to prevent them from sticking together.
Freezing for Later
If you want to enjoy these bars later, they freeze beautifully. Wrap individual squares in plastic wrap and place them in a freezer-safe bag. They can last up to three months in the freezer. Just thaw them in the refrigerator before serving.
Recipe Tips and Tricks
Related Recipes
If you love these No-Bake Chocolate Peanut Butter Bars, you might also enjoy:
Print
Indulgent No-Bake Chocolate Peanut Butter Bars: Sinfully Delicious
These no-bake chocolate peanut butter bars are a deliciously rich treat with a crunchy base, creamy peanut butter layer, and smooth chocolate topping.
- Total Time: 2 hours 30 minutes
- Yield: 16 squares 1x
Ingredients
- 1 cup graham cracker crumbs
- 1/2 cup unsweetened cocoa powder
- 1/2 cup powdered sugar
- 1/2 cup unsalted butter, melted
- 1 cup creamy peanut butter
- 1 cup semi-sweet chocolate chips
- 1/4 cup heavy cream
Instructions
- Combine graham cracker crumbs, cocoa powder, and powdered sugar in a bowl; mix well.
- Add melted butter and mix until the texture resembles wet sand.
- Press the mixture into a lined 8×8-inch baking pan and chill.
- Heat peanut butter in the microwave, mix until smooth, then spread over the chilled base.
- Melt chocolate chips with heavy cream, stir until smooth, then pour over the peanut butter layer.
- Chill for at least 2 hours, slice into squares, and serve.
Notes
- For a sweeter peanut butter layer, add honey or maple syrup.
- Ensure the chocolate topping is completely melted for a smooth finish.
- Prep Time: 30 minutes
- Cook Time: 0 minutes
- Category: Dessert
- Method: No-Bake
- Cuisine: American
- Diet: Vegetarian
Nutrition
- Serving Size: 1 square
- Calories: 250
- Sugar: 15g
- Sodium: 150mg
- Fat: 15g
- Saturated Fat: 7g
- Unsaturated Fat: 6g
- Trans Fat: 0g
- Carbohydrates: 25g
- Fiber: 2g
- Protein: 5g
- Cholesterol: 15mg
FAQs
Can I use crunchy peanut butter instead of creamy?
Absolutely! Crunchy peanut butter will add a delightful texture to the bars, making them even more interesting.
How do I know when the bars are set?
The bars are set when the chocolate topping is firm to the touch and the layers feel solid. If they jiggle in the pan, they need more chilling time.
Can I make these bars ahead of time?
Yes! These bars can be made up to a week in advance. Just store them in the refrigerator until you’re ready to serve.
What can I use if I don’t have graham crackers?
You can substitute graham crackers with crushed vanilla wafers or even digestive biscuits for a similar flavor and texture.
Are these bars kid-friendly?
Definitely! Kids love the combination of chocolate and peanut butter, and they can even help with the preparation, making it a fun family activity.
Conclusion
So there you have it—my indulgent No-Bake Chocolate Peanut Butter Bars! These bars are not only easy to make, but they’re also a fantastic way to create lasting memories in the kitchen with your loved ones. Next time you’re looking for a quick dessert option that’s sure to wow your family or friends, give this recipe a try. I promise you won’t be disappointed! Happy cooking!