Introduction
Do you love pizza? How about grilled cheese? If you said yes to either of those, then get ready for a delightful mash-up that will make your taste buds dance! Introducing the Pizza Grilled Cheese—a comfort food that combines two favorites into one ooey-gooey creation. This dish is perfect for lunch, dinner, or even a late-night snack. Let’s dive into the delicious world of cheesy goodness!
Ingredients
Before we start cooking, let’s gather our ingredients. You’ll need:
- 2 slices of your favorite bread (sourdough works wonders!)
- 2 slices of mozzarella cheese
- 2 tablespoons of pizza sauce
- Your choice of toppings (pepperoni, bell peppers, olives, or whatever you fancy)
- Butter or olive oil for grilling
- Parmesan cheese (optional but highly recommended)
Having these ingredients on hand will make your cooking experience smooth and enjoyable. Feel free to get creative with toppings!
Timing
Timing is everything in cooking, especially when it comes to grilled cheese. Here’s what to expect:
- Preparation Time: 10 minutes
- Cooking Time: 10 minutes
- Total Time: 20 minutes
In just 20 minutes, you can have a delicious pizza grilled cheese on your plate. Now, let’s get to the fun part—cooking!
Step-by-Step Instructions
Step 1: Prepare the Bread
First, take two slices of your chosen bread. Spread a thin layer of butter or olive oil on one side of each slice. This will help achieve that golden-brown crust we all love.
Step 2: Add the Cheese
Next, place a slice of mozzarella cheese on the unbuttered side of one of the bread slices. Don’t be shy; add more cheese if you’re feeling adventurous!
Step 3: Top It Off
Now, it’s time to add the pizza sauce. Spread about a tablespoon of sauce over the cheese. After that, sprinkle your favorite toppings on top. Think pepperoni, olives, or even some fresh basil for a gourmet touch!
Step 4: Close It Up
Cover your masterpiece with the second slice of bread, buttered side facing out. This creates the perfect grilled cheese sandwich.
Step 5: Grill It!
Heat a skillet over medium heat. Once it’s hot, carefully place your sandwich in the skillet. Grill for about 3-4 minutes on each side until it’s golden and the cheese is melted. You might want to press down a bit for that perfect melt.
Step 6: Serve and Enjoy
Once grilled to perfection, remove it from the skillet. Let it cool for a minute, then slice it in half. Watch the cheese ooze out and prepare to be amazed!
Nutritional Information
Curious about the nutrition? Here’s a rough breakdown for one serving of pizza grilled cheese:
- Calories: 400
- Fat: 20g
- Carbohydrates: 40g
- Protein: 15g
Keep in mind that these values can vary based on the ingredients you choose. Enjoy in moderation, and don’t forget to savor every bite!
Healthier Alternatives
Want to make your pizza grilled cheese a bit healthier? Here are some options:
- Use whole grain or gluten-free bread.
- Opt for low-fat cheese.
- Incorporate veggies like spinach, mushrooms, or zucchini.
- Try using avocado instead of butter for grilling.
These alternatives will help you enjoy your favorite dish while keeping it a bit lighter.
Serving Suggestions
Looking for the perfect side dish? Here are some ideas:
- Serve with a side salad for some freshness.
- Pair it with homemade tomato soup for a classic combo.
- Enjoy with some crispy potato wedges.
These options will elevate your meal and make it even more enjoyable!
Common Mistakes to Avoid
Even the best chefs make mistakes! Here’s what to look out for:
- Using too much heat can burn the bread before the cheese melts.
- Not enough cheese will lead to a dry sandwich.
- Forget to butter the bread for that crispy crust.
Avoid these mistakes, and you’ll be on your way to grilled cheese perfection!
Storage Tips
If you have leftovers (which is rare!), here’s how to store them:
- Wrap the sandwich in foil or plastic wrap.
- Store it in the fridge for up to two days.
- Reheat it in a skillet for the best results.
Reheating in the skillet will help retain that crispy texture.
Conclusion
The Pizza Grilled Cheese is a delightful dish that combines the best of both worlds. With its irresistible flavors and gooey texture, it’s bound to become a family favorite. Whether you’re enjoying it alone or sharing with friends, this recipe is sure to impress.
PrintMelting Hearts: 
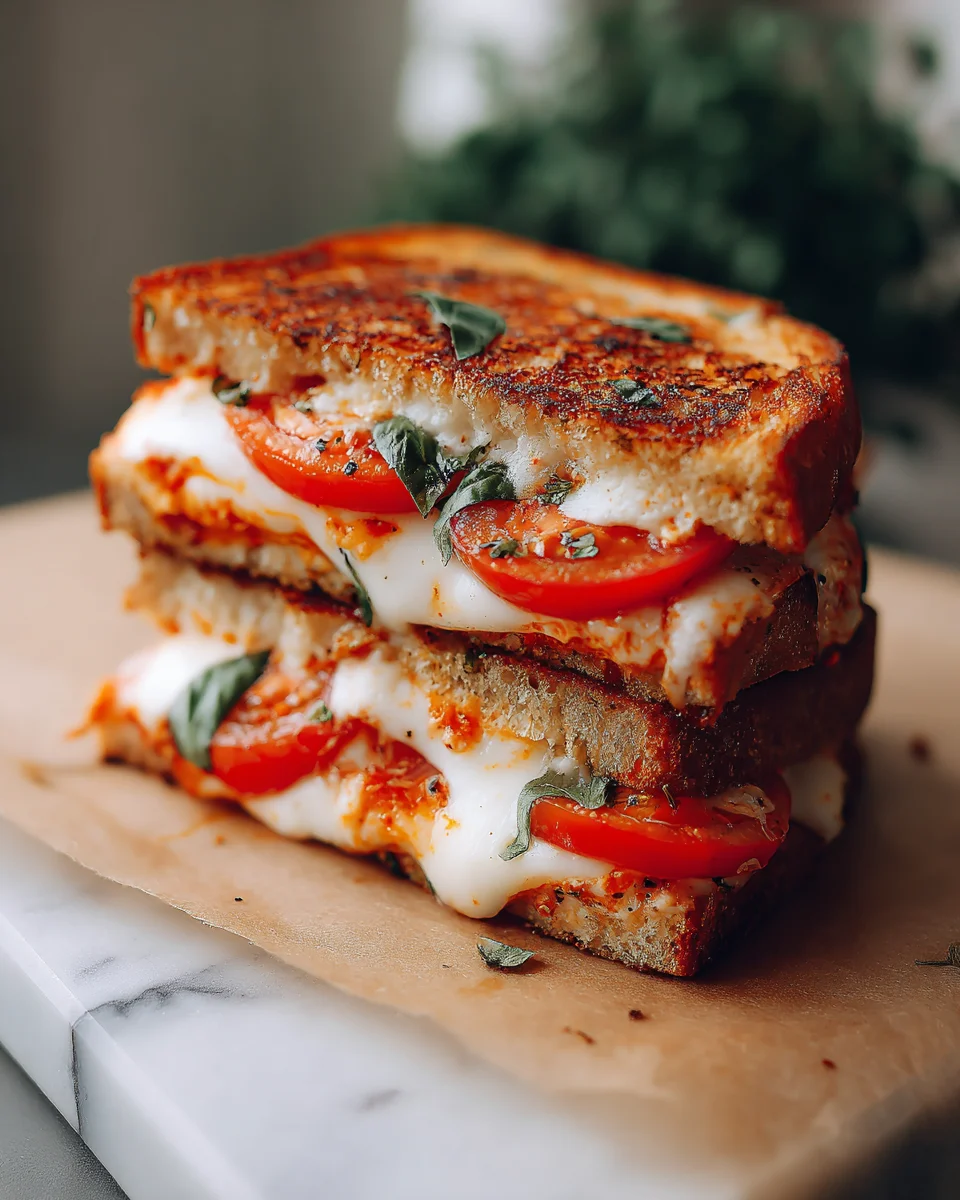
The Ultimate Pizza Grilled Cheese Experience
A delicious and customizable grilled cheese sandwich with a pizza twist.
- Total Time: 13 minutes
- Yield: 1 sandwich 1x
Ingredients
- 2 slices of your favorite bread (sourdough works wonders!)
- 2 slices of mozzarella cheese
- 2 tablespoons of pizza sauce
- Your choice of toppings (pepperoni, bell peppers, olives, or whatever you fancy)
- Butter or olive oil for grilling
- Parmesan cheese (optional but highly recommended)
Instructions
- Spread butter or olive oil on one side of each slice of bread.
- Place mozzarella cheese on the unbuttered side of one bread slice.
- Spread pizza sauce over the cheese and add your desired toppings.
- Cover with the second slice of bread, buttered side out.
- Grill in a heated skillet for 3-4 minutes on each side until golden and cheese is melted.
- Remove, let cool slightly, slice in half, and serve.
Notes
- Feel free to experiment with different toppings for variety.
- Prep Time: 5 minutes
- Cook Time: 8 minutes
- Category: Snack
- Method: Grilling
- Cuisine: American
- Diet: Vegetarian
Nutrition
- Serving Size: 1 sandwich
- Calories: 400
- Sugar: 4g
- Sodium: 800mg
- Fat: 24g
- Saturated Fat: 10g
- Unsaturated Fat: 14g
- Trans Fat: 0g
- Carbohydrates: 32g
- Fiber: 2g
- Protein: 18g
- Cholesterol: 50mg
FAQs
Can I use other types of cheese?
Absolutely! Cheddar, gouda, or even a blend can work wonderfully.
Is this recipe suitable for kids?
Yes! Kids will love this cheesy delight, and you can customize it to their taste.
Can I make this vegan?
Of course! Use vegan cheese and butter, and you’re all set.
Final Thoughts
Now that you have the ultimate Pizza Grilled Cheese recipe, it’s time to get cooking! Remember, cooking should be fun, so experiment with your ingredients and make it your own. Enjoy every bite and share with loved ones. Happy cooking!