
Introduction
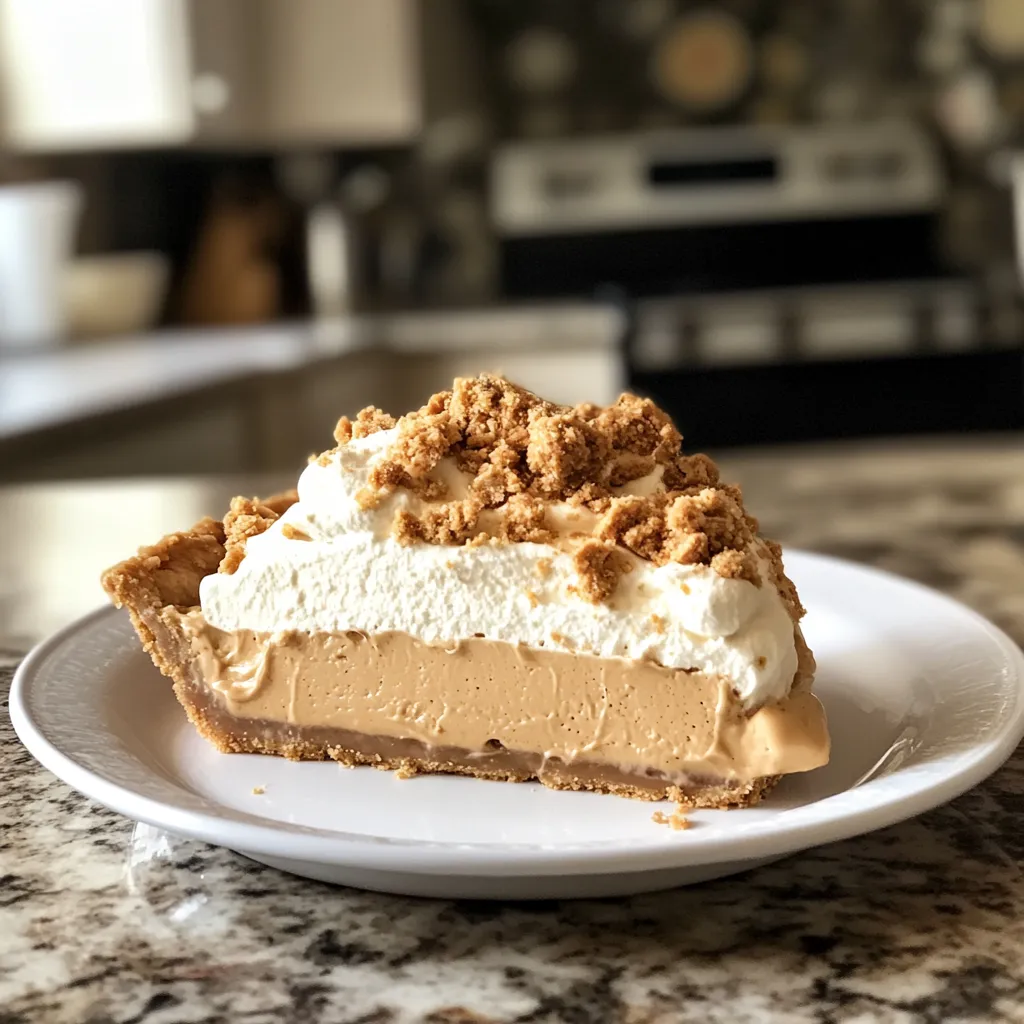
If you’re searching for a dessert that combines nostalgia with mouthwatering flavors, look no further! Amish Peanut Butter Cream Pie is a delightful treat that’ll transport you straight to a simpler time. This pie is creamy, rich, and simply heavenly. It’s perfect for family gatherings, potlucks, or just a sweet indulgence at home.
In this blog post, I will guide you through the steps to create this delightful dessert. You’ll also find tips for healthier alternatives, common mistakes to avoid, and much more. So, let’s dive into this delicious journey!
Ingredients
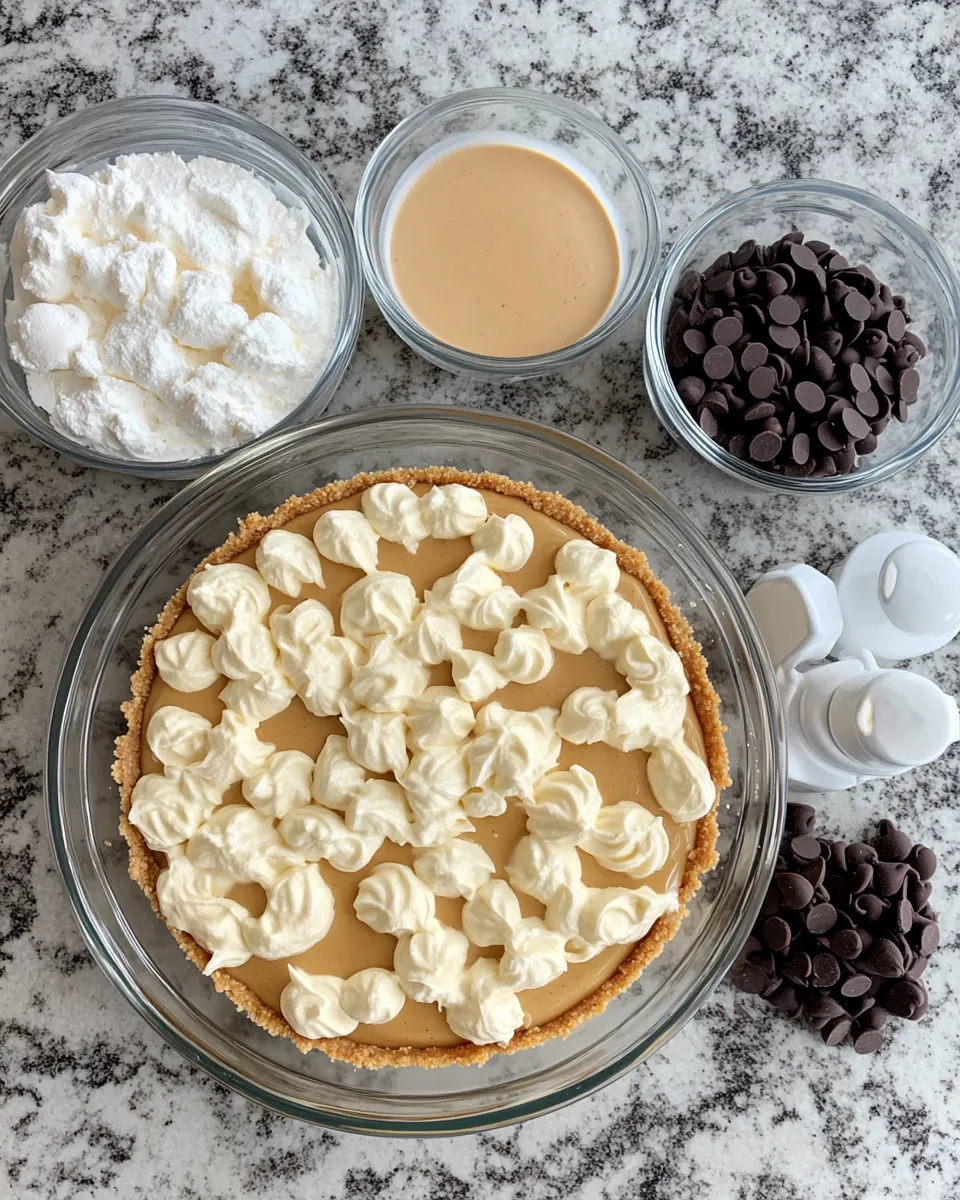
Before you start creating your masterpiece, gather the following ingredients:
- 1 pre-made pie crust
- 1 cup creamy peanut butter
- 1 cup powdered sugar
- 1 cup heavy whipping cream
- 1 teaspoon vanilla extract
- 1/4 cup milk
- 1/2 cup chocolate chips (optional, for topping)
These simple ingredients are usually available in your pantry. You might even have some of them already! The combination of peanut butter and cream creates a flavor that’s truly irresistible.
Timing
Timing is everything, especially when it comes to dessert. Here’s a quick breakdown of how long it will take you to whip up this pie:
- Preparation Time: 15 minutes
- Chilling Time: 2 hours
- Total Time: 2 hours and 15 minutes
Although the preparation is quick, the chilling time is crucial. It allows the pie to set properly, enhancing the flavors. Trust me; the wait is totally worth it!
Step-by-Step Instructions
Now that you have all your ingredients ready, let’s jump into the step-by-step instructions:
Step 1: Prepare the Pie Crust
Start by placing your pre-made pie crust in a pie dish. If you prefer a homemade crust, go for it! Bake according to package instructions or until golden brown. Allow it to cool completely.
Step 2: Mix the Peanut Butter Filling
In a mixing bowl, combine the creamy peanut butter and powdered sugar. Mix well until it forms a smooth paste. You can use a hand mixer or a whisk. It’s a workout either way!
Step 3: Whip the Cream
In another bowl, pour the heavy whipping cream and vanilla extract. Whip it until soft peaks form. This will take about 3 to 5 minutes. Remember, don’t over-whip! You want it fluffy, not butter.
Step 4: Combine the Mixtures
Gently fold the whipped cream into the peanut butter mixture. This step requires patience. Be careful not to deflate the whipped cream. You want to keep that airy texture!
Step 5: Add Milk
Stir in the milk to create a smooth consistency. This will help the filling spread easily into the pie crust. Mixing is essential to achieve a creamy texture.
Step 6: Pour into Crust
Once your mixture is ready, pour it into the cooled pie crust. Smooth the top with a spatula. It should look heavenly already!
Step 7: Chill
Cover the pie with plastic wrap and refrigerate for at least 2 hours. This chilling time will allow the flavors to meld and the pie to set perfectly.
Nutritional Information
While this pie is a treat, it’s good to know what you’re indulging in. Here’s a rough estimate of the nutritional information per slice (assuming 8 slices):
- Calories: 350
- Protein: 6g
- Fat: 24g
- Carbohydrates: 30g
- Sugar: 15g
Keep in mind that these values can vary based on the brands you use. Enjoying a slice of this pie is definitely a worthy indulgence!
Healthier Alternatives
If you’re looking to make this pie a bit healthier, consider these alternatives:
- Use a graham cracker crust instead of a traditional pie crust for fewer calories.
- Substitute half of the heavy cream with Greek yogurt for added protein.
- Try using natural peanut butter without added sugars.
- Replace powdered sugar with a sugar substitute if you’re watching your sugar intake.
These swaps can help you enjoy this delicious dessert while being a bit kinder to your waistline!
Serving Suggestions
This pie is delicious on its own, but you can elevate it further:
- Top with whipped cream and chocolate chips for extra indulgence.
- Serve with a scoop of vanilla ice cream on the side.
- Garnish with crushed peanuts for added crunch.
- Drizzle with chocolate or caramel sauce for a decadent touch.
Each of these options enhances the pie without overshadowing its delightful peanut butter flavor!
Common Mistakes to Avoid
Even the best bakers can make mistakes. Here are some common pitfalls to avoid:
- Using cold ingredients: Make sure your peanut butter and cream are at room temperature for a smooth mix.
- Overmixing the whipped cream: This can lead to a grainy texture. Stop mixing once soft peaks form.
- Skipping the chilling time: Allowing the pie to chill is crucial for the flavors to develop and the pie to set properly.
By avoiding these mistakes, your pie will turn out perfectly every time!
Storage Tips
Leftover pie? No problem! Here’s how to store it properly:
- Cover the pie with plastic wrap or aluminum foil to keep it fresh.
- Store it in the refrigerator for up to 4 days.
- If you need to keep it longer, consider freezing it. Just make sure to wrap it tightly in plastic wrap and then foil.
When ready to eat, thaw it in the refrigerator overnight. Enjoy your delicious creation again!
Conclusion
Amish Peanut Butter Cream Pie is more than just a dessert; it’s a slice of tradition that brings comfort and joy. With its creamy texture and rich flavor, it’s bound to become a favorite in your household. Remember, the key is to follow the steps carefully and allow the pie to chill properly.
So, gather your ingredients, roll up your sleeves, and get ready to indulge in a slice of this heavenly pie!
Print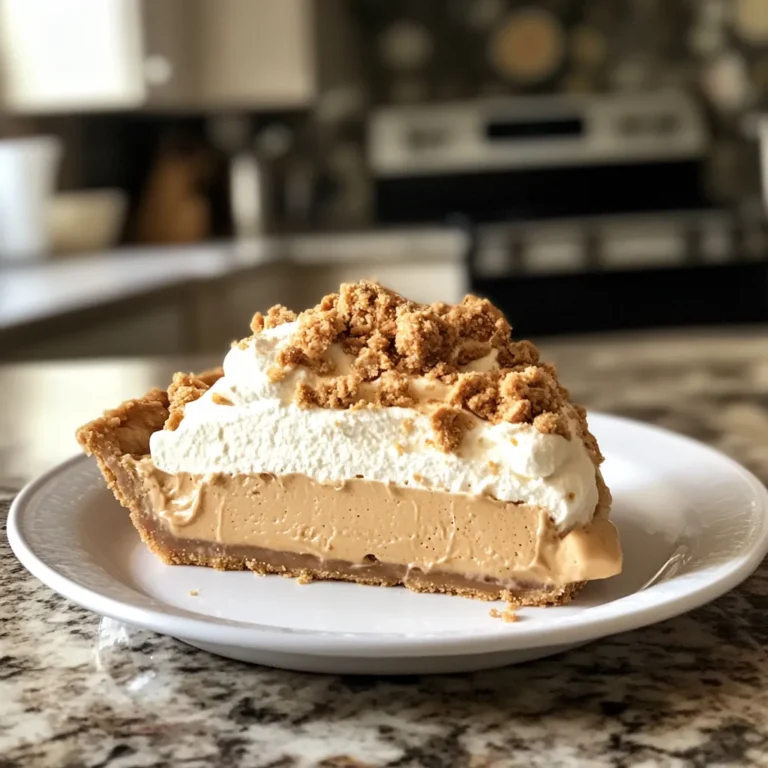
Heavenly Amish Peanut Butter Cream Pie: A Slice of Tradition
Indulge in a creamy peanut butter pie that combines rich flavors with a light texture, perfect for dessert lovers.
- Total Time: 2 hours 20 minutes
- Yield: 8 servings
Ingredients
- 1 pre-made pie crust
- 1 cup creamy peanut butter
- 1 cup powdered sugar
- 1 cup heavy whipping cream
- 1 teaspoon vanilla extract
- 1/4 cup milk
- 1/2 cup chocolate chips (optional, for topping)
Instructions
- Prepare the pie crust in a dish and bake until golden brown; cool completely.
- Mix peanut butter and powdered sugar until smooth.
- Whip heavy cream and vanilla extract until soft peaks form.
- Gently fold whipped cream into peanut butter mixture.
- Stir in milk for a smooth consistency.
- Pour the mixture into the cooled pie crust and smooth the top.
- Cover with plastic wrap and refrigerate for at least 2 hours.
Notes
- Use a store-bought crust for quick preparation or make your own for a homemade touch.
- Ensure not to over-whip the cream to maintain its fluffy texture.
- Prep Time: 20 minutes
- Cook Time: 0 minutes
- Category: Dessert
- Method: No-bake
- Cuisine: American
- Diet: Vegetarian
FAQs
Can I use crunchy peanut butter instead of creamy?
Absolutely! Crunchy peanut butter will add a delightful texture to your pie.
How long can I keep the pie in the fridge?
The pie can last in the refrigerator for about 4 days, as long as it is covered properly.
Can I freeze the pie?
Yes, you can freeze the pie! Just wrap it tightly and store it in the freezer for up to 2 months.
Final Thoughts
Now that you know how to make Amish Peanut Butter Cream Pie, it’s time to impress your family and friends. This dessert is sure to bring smiles all around. Don’t forget to share your experiences in the comments below. Happy baking!