
Introduction
If you’re looking for a delightful dish that packs both flavor and fun, then you’ve come to the right place! Easy Japanese Spicy Tuna Onigiri is a perfect choice. This versatile snack can be enjoyed at home, taken on picnics, or even packed for lunch. It’s quick to make, and the taste is simply irresistible. Let’s dive into this culinary adventure!
Ingredients
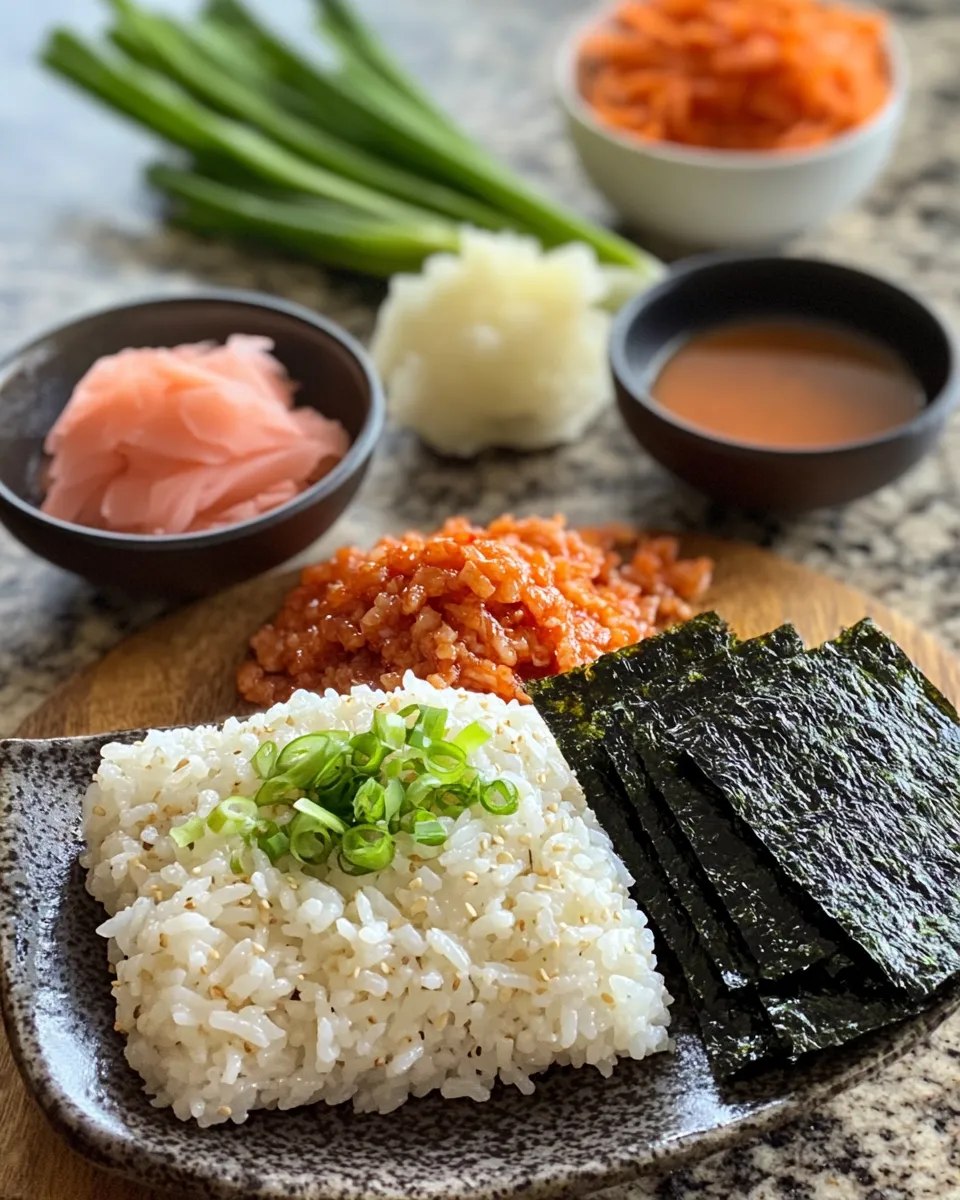
Before we get started, let’s gather everything you need. Here’s the list of ingredients for our Easy Japanese Spicy Tuna Onigiri:
- 2 cups sushi rice
- 2 1/2 cups water
- 1 can (5 oz) tuna, drained
- 2 tablespoons mayonnaise
- 1 tablespoon Sriracha sauce (more for extra spice!)
- 1 tablespoon soy sauce
- 1 teaspoon sesame oil
- 4 sheets nori (seaweed)
- Salt (to taste)
- Optional: sliced green onions for garnish
Timing
Timing is everything in cooking! Here’s a quick breakdown of how long you’ll spend making our Easy Japanese Spicy Tuna Onigiri:
- Preparation time: 15 minutes
- Cooking time: 20 minutes
- Total time: 35 minutes
Step-by-Step Instructions
Now that we have our ingredients ready, let’s get into the fun part—cooking! Follow these simple steps to create your onigiri:
Step 1: Cook the Sushi Rice
First, rinse the sushi rice under cold water until the water runs clear. This is crucial as it removes excess starch.
Next, combine the rinsed rice and 2 1/2 cups of water in a rice cooker. If you don’t have one, a pot works too! Bring it to a boil, then reduce the heat and cover. Cook for about 15-20 minutes until the rice is tender.
Step 2: Prepare the Spicy Tuna Filling
While the rice is cooking, mix the drained tuna with mayonnaise, Sriracha, soy sauce, and sesame oil in a bowl. Stir well until everything is combined. Adjust the spice level based on your preference—add more Sriracha if you like it fiery!
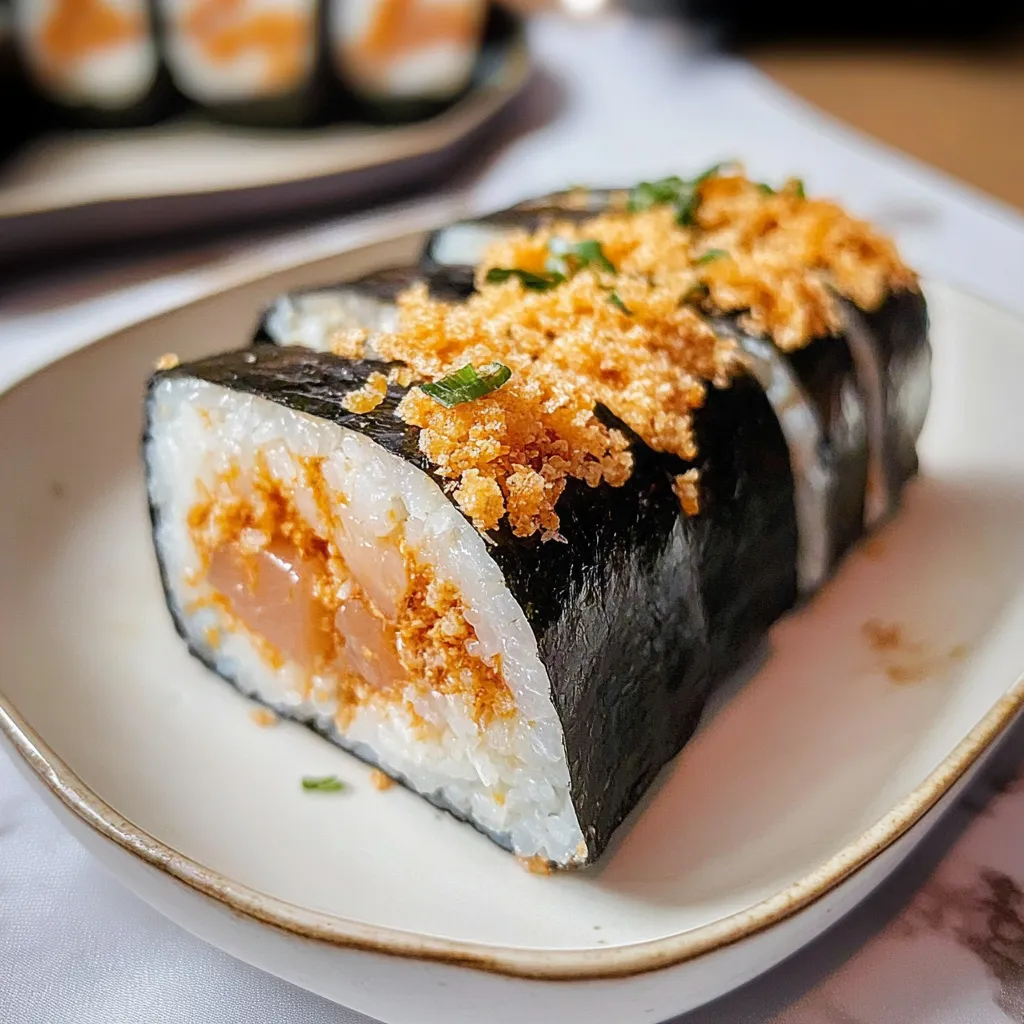
Step 3: Form the Onigiri
Once the rice is cooked, allow it to cool slightly. Wet your hands with water to prevent sticking. Take a small handful of rice (about 1/4 cup) and flatten it in your palm.
Place a spoonful of the spicy tuna mixture in the center, then mold the rice around it. Shape it into a triangle or oval, depending on your preference. Repeat until all the rice and filling are used!
Step 4: Wrap in Nori
Cut the nori sheets into strips. Wrap a strip around each onigiri, leaving one side open for easy handling. This adds a nice crunch and flavor!
Nutritional Information
Now, let’s take a look at the nutritional benefits of our Easy Japanese Spicy Tuna Onigiri:
- Calories: Approximately 200 per serving
- Protein: 12g
- Carbohydrates: 30g
- Fat: 5g
- Fiber: 1g
This dish is not only tasty but also provides a good balance of protein and carbs, making it an excellent snack or light meal!
Healthier Alternatives
While this recipe is delightful, it’s always good to consider alternatives! Here are a few healthier swaps you can try:
- Use brown rice instead of white rice for added fiber.
- Replace mayonnaise with Greek yogurt for a lighter option.
- Incorporate diced vegetables like cucumber or avocado into the filling.
Serving Suggestions
Wondering how to serve your Easy Japanese Spicy Tuna Onigiri? Here are some ideas to enhance your meal:
- Pair with miso soup for a comforting dinner.
- Serve with pickled ginger and wasabi on the side for added flavor.
- Enjoy as a snack with some fresh fruit or a side salad.
Common Mistakes to Avoid
Even the best chefs can make mistakes! Here are some common pitfalls to watch out for:
- Not rinsing the rice properly can lead to sticky onigiri.
- Overworking the rice can make it mushy—be gentle!
- Skipping the cooling step can cause the filling to heat up, making assembly difficult.
Storage Tips
If you have leftovers, here’s how to store your Easy Japanese Spicy Tuna Onigiri:
- Store in an airtight container in the fridge for up to 2 days.
- For longer storage, wrap tightly in plastic wrap and freeze for up to a month.
- Thaw frozen onigiri in the fridge overnight before serving.
Conclusion
In conclusion, making Easy Japanese Spicy Tuna Onigiri is not just about food; it’s about creating joyful moments in the kitchen. This recipe is easy, delicious, and versatile. You can customize it to your taste and enjoy it any time of the day. So why not give it a try?
Print
Savor the Flavor: Easy Japanese Spicy Tuna Onigiri Recipe
Learn to make Easy Japanese Spicy Tuna Onigiri, a delicious and fun rice ball snack with a spicy tuna filling.
- Total Time: 30 minutes
- Yield: 4-6 servings
Ingredients
- 2 cups sushi rice
- 2 1/2 cups water
- 1 can (5 oz) tuna, drained
- 2 tablespoons mayonnaise
- 1 tablespoon Sriracha sauce (more for extra spice!)
- 1 tablespoon soy sauce
- 1 teaspoon sesame oil
- 4 sheets nori (seaweed)
- Salt (to taste)
- Optional: sliced green onions for garnish
Instructions
- Rinse sushi rice until water runs clear, then cook with 2 1/2 cups of water in a rice cooker or pot for 15-20 minutes.
- Mix drained tuna with mayonnaise, Sriracha, soy sauce, and sesame oil in a bowl.
- Once rice is cooked, wet hands, take a handful of rice, flatten it, add a spoonful of tuna, and shape into a triangle or oval.
- Wrap each onigiri with a strip of nori, leaving one side open for easy handling.
Notes
- Adjust Sriracha to taste for desired spice level.
- Use wet hands to prevent rice from sticking.
- Prep Time: 10 minutes
- Cook Time: 20 minutes
- Category: Snack
- Method: Cooking, Mixing, Shaping
- Cuisine: Japanese
- Diet: High Protein
FAQs
Can I use a different type of fish?
Absolutely! Feel free to substitute tuna with salmon or even cooked shrimp. The possibilities are endless!
Is onigiri gluten-free?
Yes, if you use gluten-free soy sauce, onigiri can be gluten-free. Just check the labels!
Can I make these ahead of time?
Yes! You can prepare the rice and filling ahead of time. Just assemble the onigiri when you’re ready to eat.
Final Thoughts
Now that you know how to make Easy Japanese Spicy Tuna Onigiri, it’s time to get cooking! Remember, the joy of cooking lies in experimenting and making it your own. Enjoy the flavors, share with friends, and most importantly, savor every bite!