
Introduction
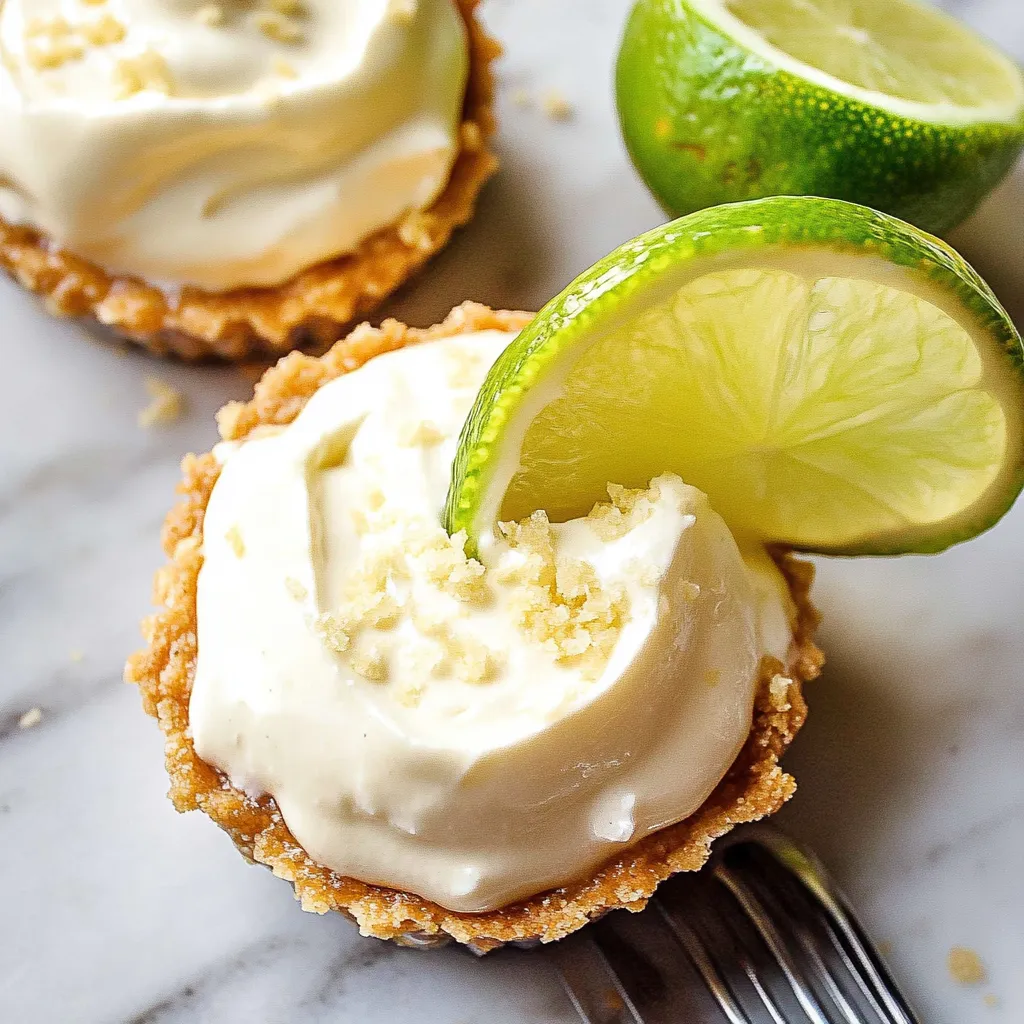
Welcome to a world of flavor with our delightful No-Bake Mini Key Lime Pie! This refreshing dessert is perfect for those hot summer days when you crave something cool and zesty. Imagine creamy lime filling nestled in a crunchy crust, all topped with a dollop of whipped cream. It’s a treat that’s not only easy to make but also brings a burst of sunshine to your palate.
If you love desserts that are quick yet impressive, then you’re in the right place. Our no-bake mini key lime pies are simple enough for beginners but delicious enough to wow your guests. Plus, they require no oven time, which means less mess and more time to enjoy your treats!
Ingredients
Before we dive into making these little masterpieces, let’s gather our ingredients. You’ll need:
- 1 cup of graham cracker crumbs
- 1/4 cup of granulated sugar
- 1/2 cup of unsalted butter, melted
- 1 cup of fresh lime juice (about 5-6 limes)
- 1 can (14 ounces) of sweetened condensed milk
- 1/2 teaspoon of lime zest
- 1 cup of heavy whipping cream
- 2 tablespoons of powdered sugar
- Fresh lime slices, for garnish
Timing
Timing is key when creating your No-Bake Mini Key Lime Pie. Here’s a quick breakdown:
- Preparation time: 15 minutes
- Chill time: 2 hours
- Total time: 2 hours and 15 minutes
Make sure to plan ahead so your pies can chill and set properly. This will enhance their flavor and texture!
Step-by-Step Instructions
Let’s get started on making these mini pies that will leave you and your friends raving!
Step 1: Prepare the Crust
First, you need to make the crust. In a medium bowl, combine graham cracker crumbs and granulated sugar. Stir in the melted butter until everything is well blended.
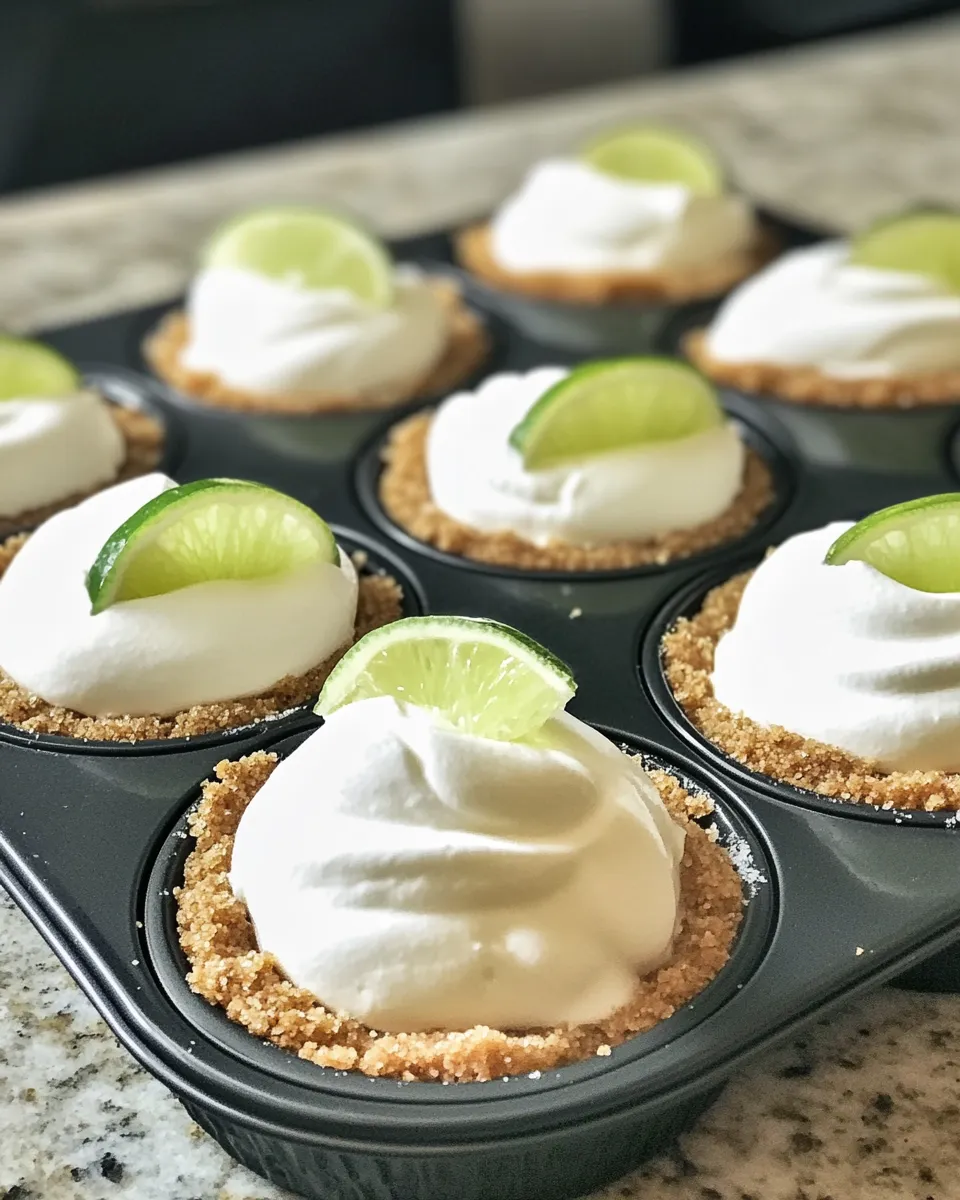
Next, press this mixture into the bottom and up the sides of a muffin tin. Make sure it’s packed tightly so it holds together. This is where your little pies will shine!
Step 2: Make the Filling
Now, let’s whip up that delicious filling. In another bowl, mix together the fresh lime juice, sweetened condensed milk, and lime zest. Stir until it’s well combined. This mixture should be creamy and tangy!
Step 3: Fill the Crust
Pour the lime filling into each crust. Fill them generously but be careful not to overflow! Smooth the tops with a spatula for a nice finish.
Step 4: Chill
Cover the muffin tin with plastic wrap and place it in the refrigerator. Chill for at least 2 hours to let the filling set. Patience is key here!
Step 5: Whip the Cream
While the pies are chilling, let’s make the whipped cream. In a mixing bowl, combine heavy whipping cream and powdered sugar. Beat until soft peaks form. You want it fluffy and light!
Step 6: Serve and Enjoy
Once chilled, carefully remove the mini pies from the muffin tin. Top each one with a generous dollop of whipped cream and a fresh lime slice. Now, they’re ready to wow your taste buds!
Nutritional Information
Knowing what goes into your treats can be important. Here’s a general breakdown per mini pie, assuming you make 12 servings:
- Calories: 200
- Protein: 2g
- Carbohydrates: 26g
- Fat: 10g
These are estimates and can vary based on specific brands and ingredients used.
Healthier Alternatives
If you’re looking to lighten up your No-Bake Mini Key Lime Pie, there are some easy swaps you can make:
- Use low-fat cream cheese instead of sweetened condensed milk for fewer calories.
- Try a gluten-free graham cracker crust for gluten-sensitive guests.
- Replace heavy whipping cream with coconut whipped cream for a dairy-free option.
These alternatives will help you enjoy the same flavor while keeping things a bit healthier!
Serving Suggestions
When it comes to serving your mini key lime pies, presentation matters! Here are some fun ideas:
- Serve them on a colorful platter with mint leaves for a pop of color.
- Pair with fresh fruit, like berries, to enhance the flavors.
- Consider a drizzle of lime syrup for that extra zing!
These little touches can elevate your dessert and impress your guests.
Common Mistakes to Avoid
Even the best bakers can make mistakes. Here are some common pitfalls to watch out for:
- Don’t skip the chilling time! It’s crucial for the filling to set.
- Make sure to use fresh lime juice for the best flavor.
- Don’t overmix the filling; it should be smooth but not too airy.
By avoiding these mistakes, you’ll ensure your pies turn out perfect every time!
Storage Tips
After making your No-Bake Mini Key Lime Pie, you might have leftovers (if you’re lucky!). Here’s how to store them:
- Keep them in an airtight container in the refrigerator.
- They can last up to 3 days, but they’re best enjoyed fresh.
- For longer storage, consider freezing them, but note that the texture may change.
Proper storage will help maintain their deliciousness!
Conclusion
In conclusion, these No-Bake Mini Key Lime Pies are a delightful treat that’s easy to make and sure to impress. With their zesty flavor and creamy texture, they’re perfect for any occasion. Whether you’re hosting a summer barbecue or just enjoying a quiet evening, these pies will add a touch of joy to your day. So, what are you waiting for? Gather your ingredients and start creating your own zesty bliss!
Print
Zesty Bliss: No-Bake Mini Key Lime Pies That Wow Your Taste Buds
Delicious mini lime pies that are perfect for any occasion, featuring a creamy lime filling and a crunchy graham cracker crust.
- Total Time: 2 hours 30 minutes
- Yield: 12 mini pies
Ingredients
- 1 cup of graham cracker crumbs
- 1/4 cup of granulated sugar
- 1/2 cup of unsalted butter, melted
- 1 cup of fresh lime juice (about 5–6 limes)
- 1 can (14 ounces) of sweetened condensed milk
- 1/2 teaspoon of lime zest
- 1 cup of heavy whipping cream
- 2 tablespoons of powdered sugar
- Fresh lime slices, for garnish
Instructions
- Combine graham cracker crumbs and sugar, stir in melted butter, and press into muffin tin.
- Mix lime juice, sweetened condensed milk, and lime zest until creamy.
- Pour lime filling into each crust, smoothing the tops.
- Cover and chill in the refrigerator for at least 2 hours.
- Beat heavy cream and powdered sugar until soft peaks form.
- Remove pies from the tin, top with whipped cream and lime slices, and serve.
Notes
- Make sure to pack the crust tightly for stability.
- Chilling time is essential for the filling to set properly.
- Fresh lime slices not only garnish but enhance the flavor.
- Prep Time: 30 minutes
- Cook Time: 0 minutes
- Category: Dessert
- Method: No-bake
- Cuisine: American
- Diet: Vegetarian
FAQs
Can I use bottled lime juice instead of fresh?
While bottled lime juice can work in a pinch, fresh juice provides better flavor. If you can, go for the real deal!
How do I make sure my crust holds together?
Make sure to press the crust mixture firmly into the muffin tin. The melted butter is key to binding it all together!
Can I make these ahead of time?
Absolutely! These mini pies are perfect for making ahead of time. Just store them in the fridge until you’re ready to serve.
Final Thoughts
Now that you have the recipe for these No-Bake Mini Key Lime Pies, you’re ready to treat yourself and your loved ones. Remember, cooking is all about having fun and enjoying the process. So, embrace the zesty flavors and let your creativity shine in the kitchen. Happy baking!